Installing a rear serial port interface

If a tertiary riser cage is installed, you can install the serial port into slot 6.
Prerequisites

Before you perform this procedure, make sure that you have the following items available:

The components included with the hardware option kit

Procedure
  1. Power down the server.
  2. Do one of the following:
    • Disconnect each power cord from the power source.
    • Disconnect each power cord from the server.
  3. Do one of the following:
  4. Remove the access panel.
  5. If a tertiary riser cage is not installed, perform the following steps:
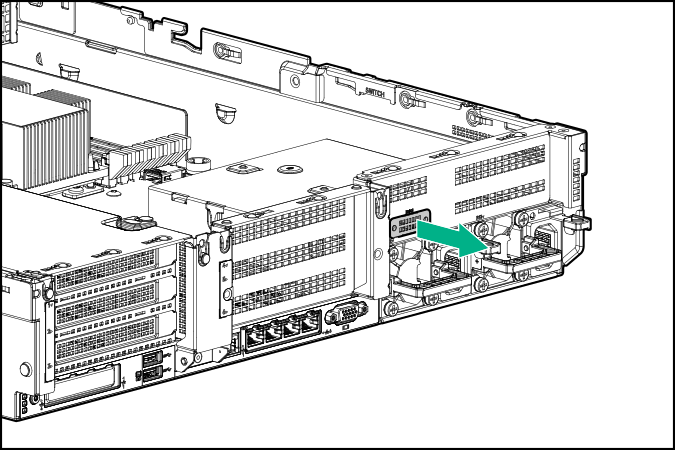
    1. Remove the serial port blank.

      Removing the serial port blank
    2. Insert the serial cable through the blank port and connect it to the system board.
    3. Insert the serial port connector and fasten it to slot 6.
    4. Route the cable around the riser cage screws.
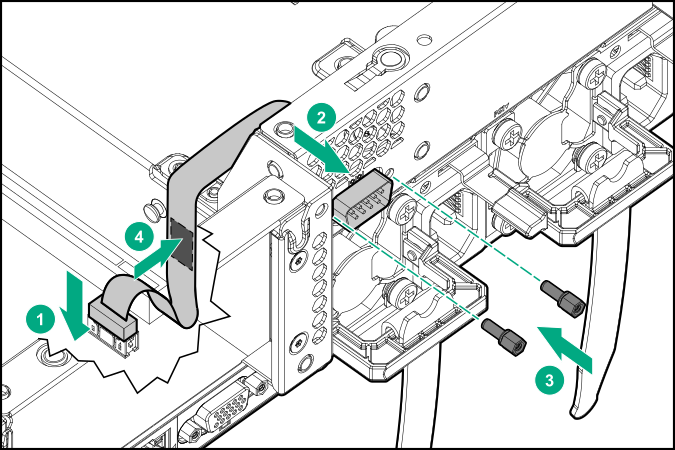
    5. Remove the double-sided backing and secure the cable to the side of the power supply cage.


      Installing a serial port interface

  6. If a tertiary riser cage is installed, perform the following steps:
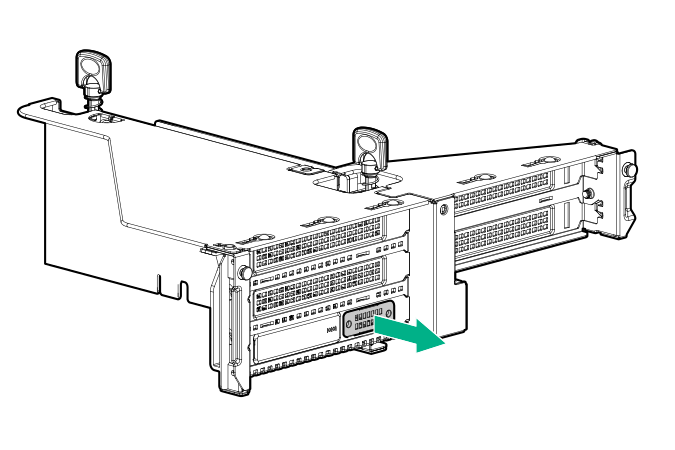
    1. Remove the riser and the blank.
      Removing the tertiary riser cage and blank
    2. Install the serial port.
      Installing a serial port interface
  7. Install the access panel.
  8. Install the server in the rack.
  9. Connect each power cord to the server.
  10. Connect each power cord to the power source.
  11. Power up the server.

The installation is complete.