Installing a rear 2SFF SAS/SATA drive cage in the primary or secondary riser
Prerequisites
Before you perform this procedure, make sure that you have the following items available:
T-10 Torx screwdriver
The components included with the hardware option kit
- The front drive bays are fully populated with 12 LFF or 24 SFF drives.
- High performance fans are installed in all fan bays.
Procedure
-
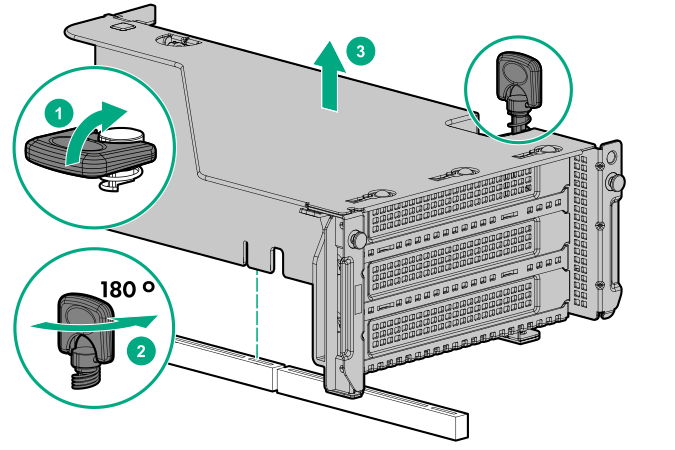
Do one of the following:
For primary bays, remove the riser cage.
 For secondary bays, remove the rear wall blank.
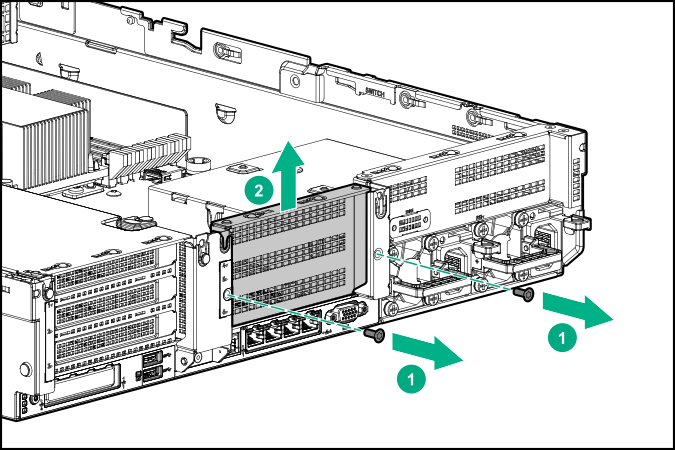
-
Install the drive cage.

The installation is complete.