Installing expansion boards
WARNING: To reduce the risk of personal injury, electric shock, or damage to the equipment, remove the power cord to remove power from the
server. The front panel Power On/Standby button does not completely shut off system power. Portions of the power supply and some internal circuitry remain active until AC power is removed.
CAUTION: To prevent improper cooling and thermal damage, do not operate the
server unless all PCI slots have either an expansion slot cover or an expansion board installed.
To install the component:
Prerequisites
Use these instructions to install expansion boards such as Smart I/O cards (DSC-25 2-port SFP28 card), solid state NVMe/PCIe Add-In-Cards, HBAs, CNAs, InfiniBand adapters, and accelerators.
Before you perform this procedure, make sure that you have the following items available:
The components included with the hardware option kit
Procedure
-
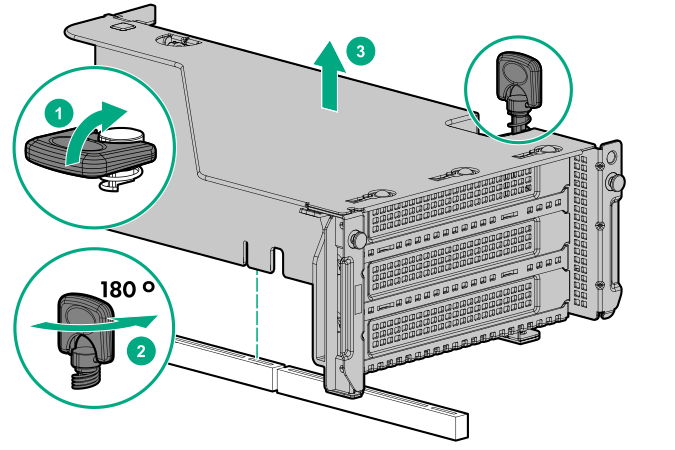
Remove the riser cage.
-
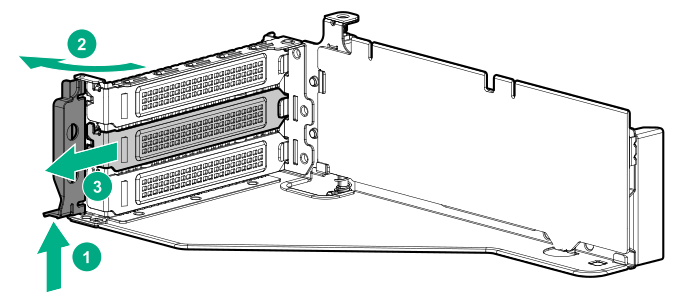
Identify and then remove the PCIe blank from the riser cage.
-
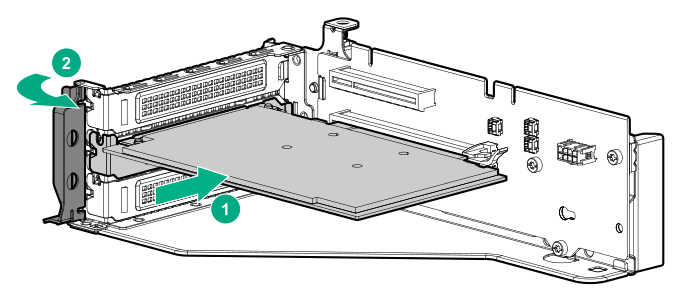
Install the expansion board.
-
Install the riser cage.
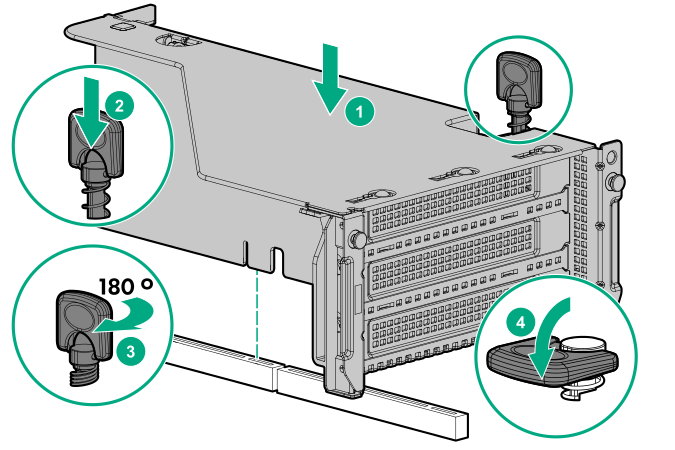
The installation is complete.