|
|
|


Installing a DIMM
To determine the ideal Memory RAS features for your setup, see "DIMM population guidelines for memory modes."
|
WARNING: Use caution when installing or removing the processor memory drawer. The processor memory drawer is very heavy when fully populated. |
To install the component:
- Power down the server.
- Remove all power:
- Disconnect each power cord from the power source.
- Disconnect each power cord from the server.
- Remove the processor memory drawer shipping screws, if installed. Retain the screws for future use.
- Remove the processor memory drawer.
- Remove the processor memory drawer cover.
- Press the release button, and then lift the handles on the memory cartridge.
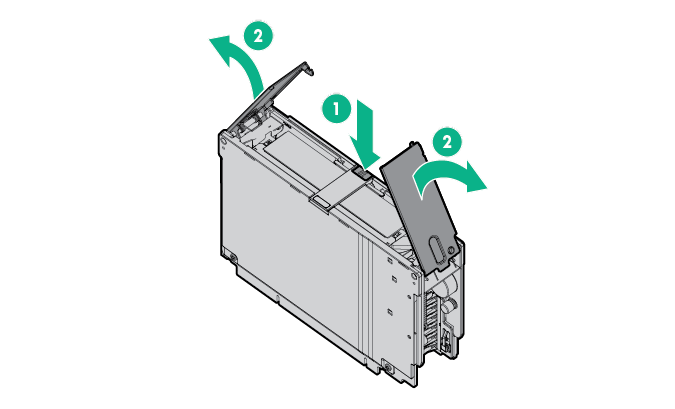
- Raise the lift tab on the memory cartridge, and then open the cartridge.

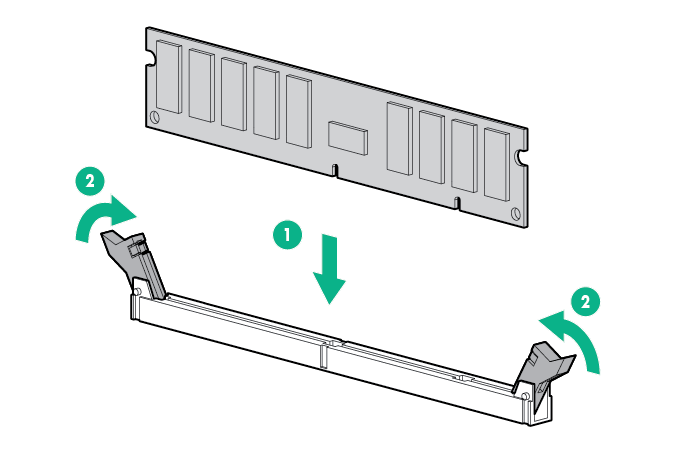
- Open the DIMM slot latches.
- Install the DIMM.

CAUTION: When closing the memory cartridge cover, be sure the plastic fingers under the cover do not catch on the top edge of the DIMMs.
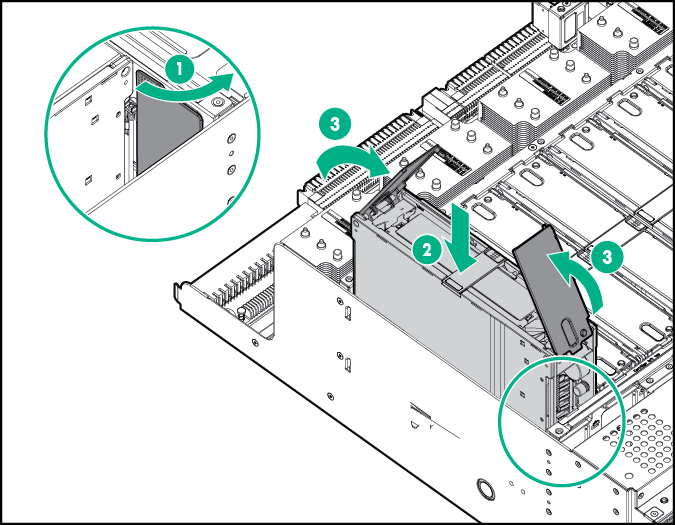
- Close the memory cartridge.
- While holding the baffle door open, install the memory cartridge.
- Install the processor memory drawer cover.
- Install the processor memory drawer (Remove the processor memory drawer cover, Install the processor memory drawer).
- Connect each power cord to the server.
- Connect each power cord to the power source.
- Power up the server.