Remove the server from the rack
WARNING: This
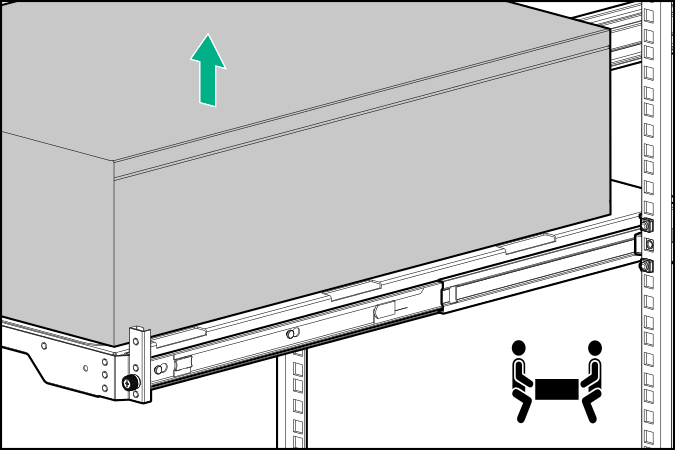
server is heavy. To reduce the risk of personal injury or damage to the equipment:
Observe local occupational health and safety requirements and guidelines for manual material handling.
Get help to lift and stabilize the product during installation or removal, especially when the product is not fastened to the rails. Hewlett Packard Enterprise recommends that a minimum of two people are required for all rack server installations. A third person may be required to help align the server if the server is installed higher than chest level.
Use caution when installing the server in or removing the server from the rack; it is unstable when not fastened to the rails.
Prerequisites
Before you perform this procedure, make sure that you have a T-15 Torx screwdriver available.
Procedure
-
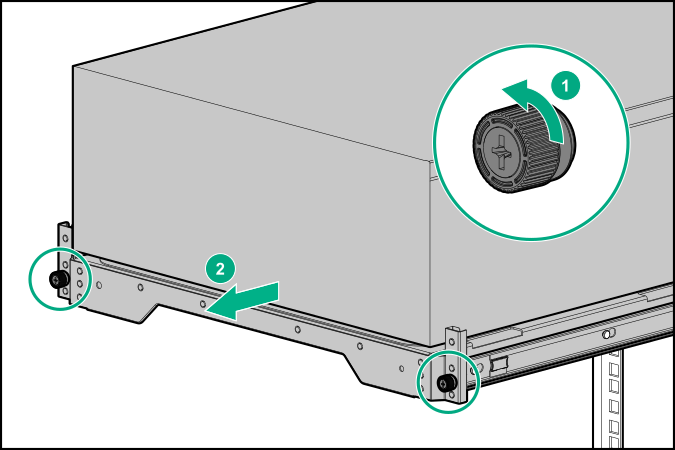
Slide the server tray out of the rack:
- Loosen the server tray thumbscrews.
- Grasp the tray notch to slide the server out of the rack.
-
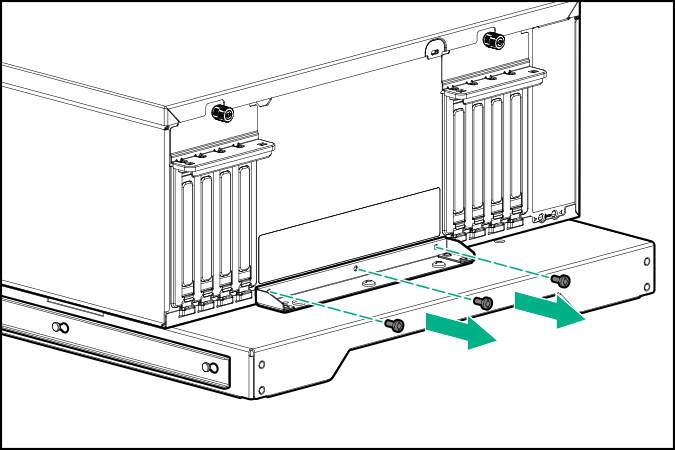
Remove the chassis rear bracket screws.
-
Remove the server from the tray.