Install the shipping hardware
If you intend to transport or ship a rack-mounted server to a new location, make sure that the shipping hardware is installed. The shipping hardware protects the server from vibration damage that might occur during server shipment.
Prerequisites
Before you perform this procedure, make sure that you have the following items available:
- Shipping hardware from the tower-to-rack conversion kit:
Shipping brackets (2)
Shipping bracket screws (4)
M5 square-hole cage nuts (4)
Rear shipping screws (2)
Cage nut insertion tool
T-25 Torx screwdriver
Phillips No. 2 screwdriver
Procedure
-
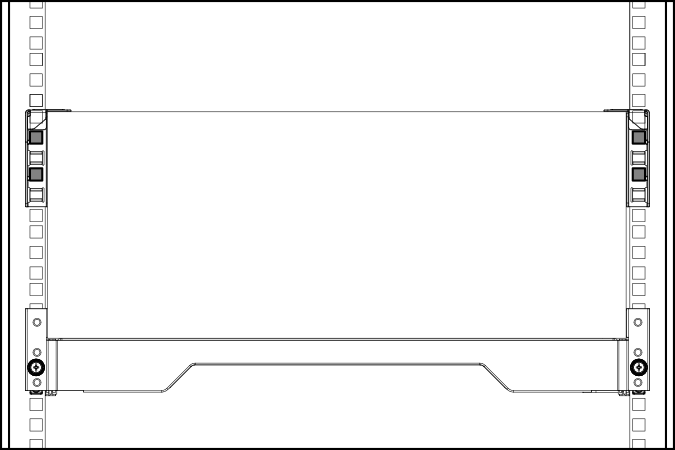
With the server installed in the rack, hold the shipping bracket against the rack column and note the correct mounting locations for both the brackets and the cage nuts as shown in the following image.
-
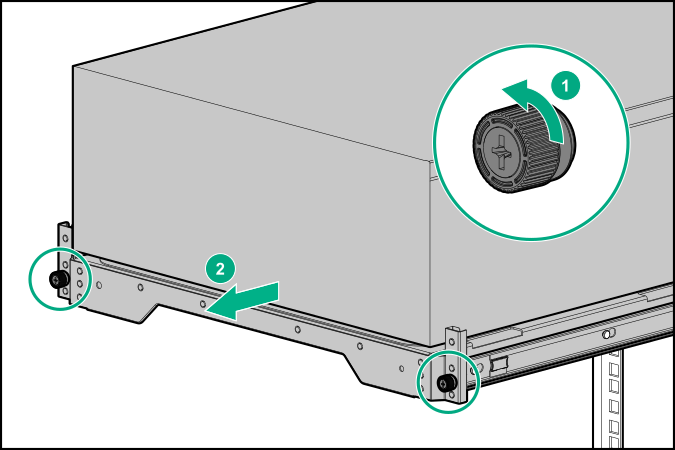
Slide the server tray out of the rack:
- Loosen the server tray thumbscrews.
- Grasp the tray notch to slide the server out of the rack.
-
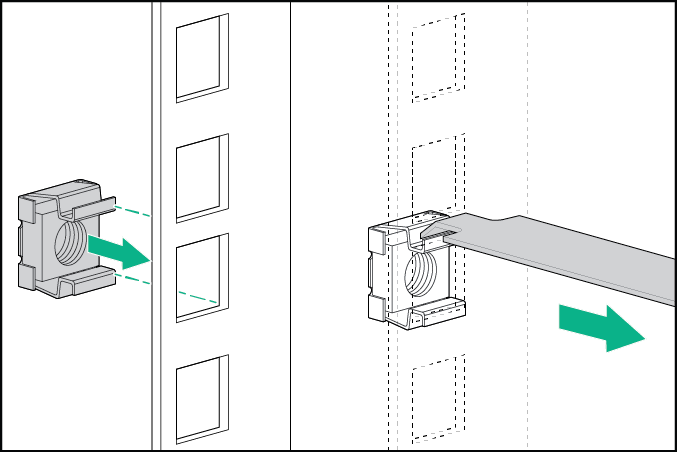
If you are installing the server in a square-hole rack, install the cage nuts. When installed, the flanges on the cage nut should face the outside of the rack:
- Hook the bottom flange of the cage nut in the rack hole.
- Insert the tip of the insertion tool through the hole and hook the top flange of the cage nut.
- Use the insertion tool to pull the cage nut through the hole until the top flange snaps into position.
-
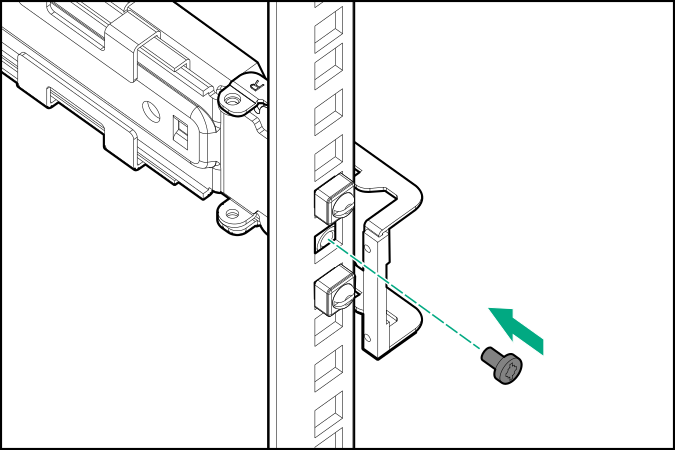
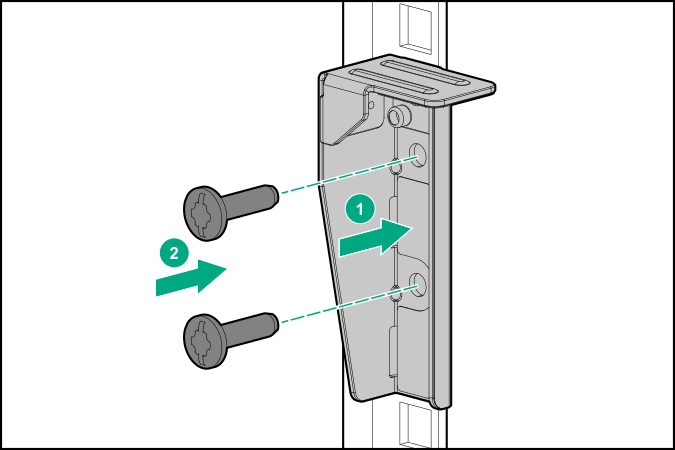
Secure the front end of rack rails to the rack columns with the shipping brackets.
-
Secure the rear end of rack rails to the rack columns with the rear shipping screws.