Install the cable management arm
The cable management arm allows the server to be fully extended from the rack without the need to power off the system or disconnect any rear panel cables. This CMA is designed for ambidextrous implementation.
CAUTION: Support the CMA during the installation. Do not allow the CMA to hang by its own weight until it is secured from all three connection points.
Procedure
-
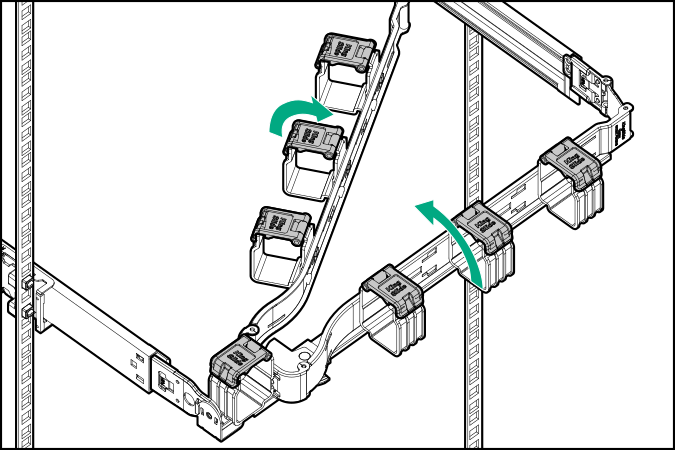
Install the CMA:
- Fasten the inner retention connector to left sliding rail hook.
- Fasten the outer retention connector to left mounting rail hook.
- Fasten the hinged connector to right mounting rail hook.

-
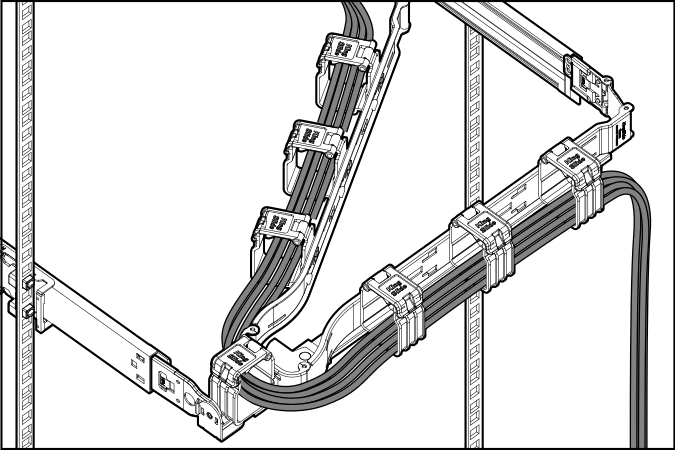
Open the cable clamps.
-
Route the rear panel cables and power cords though the CMA, and then close the cable clamps.
Employ industry best practices in routing and managing these rear panel cables and power cords.
-
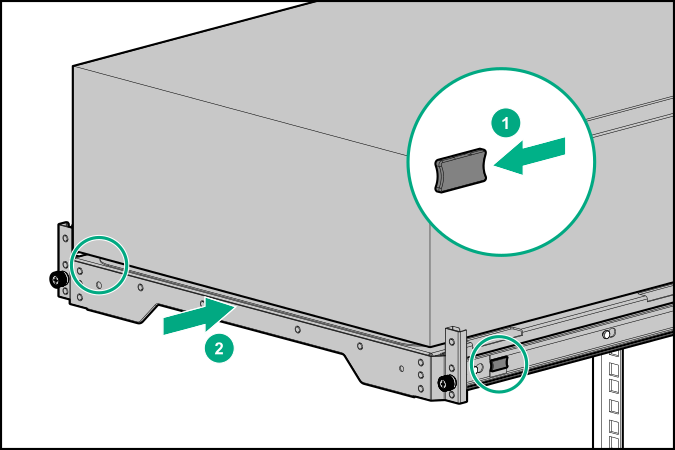
Press and hold the blue rail-release tabs, and then slide the tray back into the rack.
-
Tighten the server tray thumbscrews.
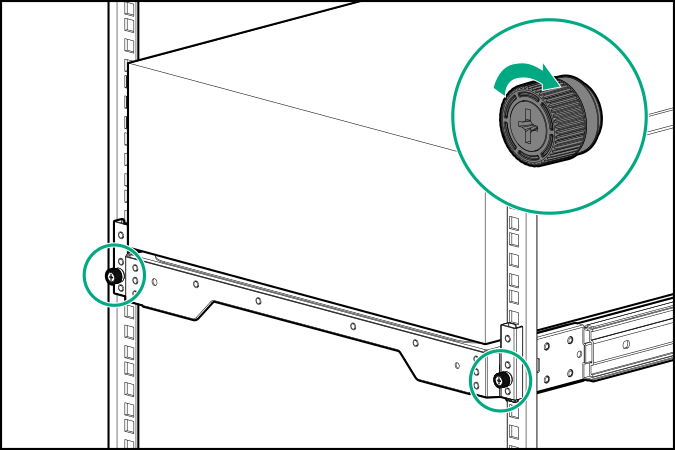
The installation is complete.