Installing an energy pack
Prerequisites
Before you perform this procedure:
- Make sure that a Smart Array P-class Gen10 controller is installed.
Make sure that you have the following items available:
Storage controller backup power cable (ships with the storage controller)
Energy pack option
If you are installing the HPE Smart Storage Hybrid Capacitor, verify that the system BIOS meets the minimum firmware requirements.
Procedure
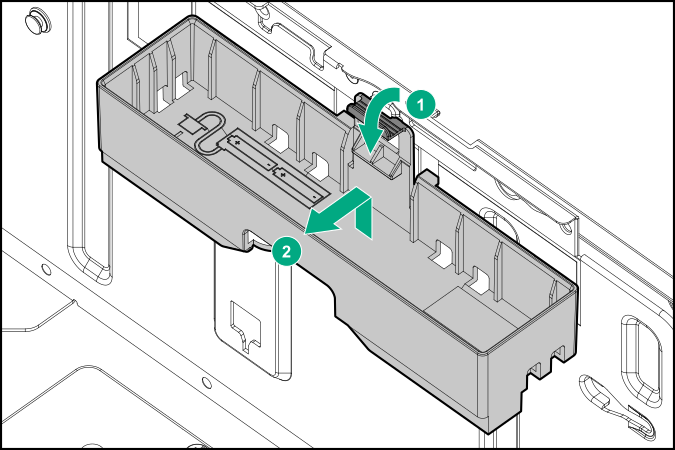
CAUTION: The snap-in latch of the energy pack holder is flexible. However, to avoid damaging this latch, do not apply too much pressure on this latch when removing or installing the energy pack from the chassis.
-
While carefully holding the snap-in latch in the open position, slide the energy pack holder up to disengage it from the chassis.
-
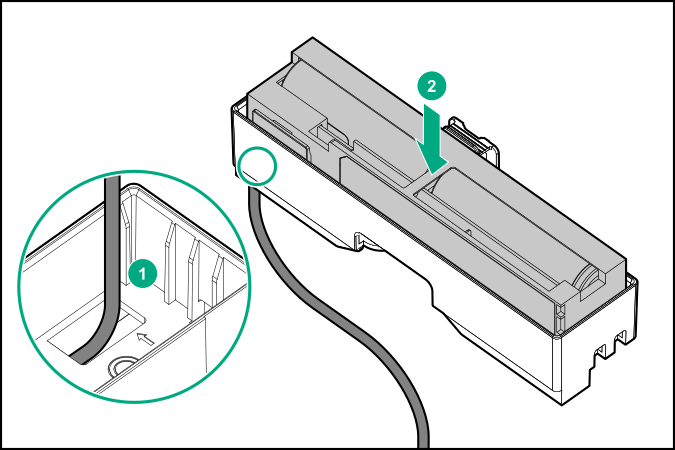
Install the energy pack into the holder:
- Route the energy pack cable through the holder cutout marked with a down arrow.
- Install the energy pack in the holder.
-
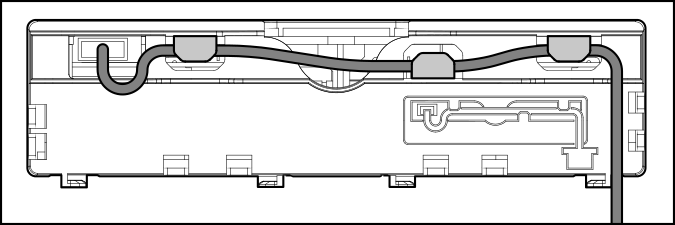
Secure the energy pack cable through the holder cable clips.
-
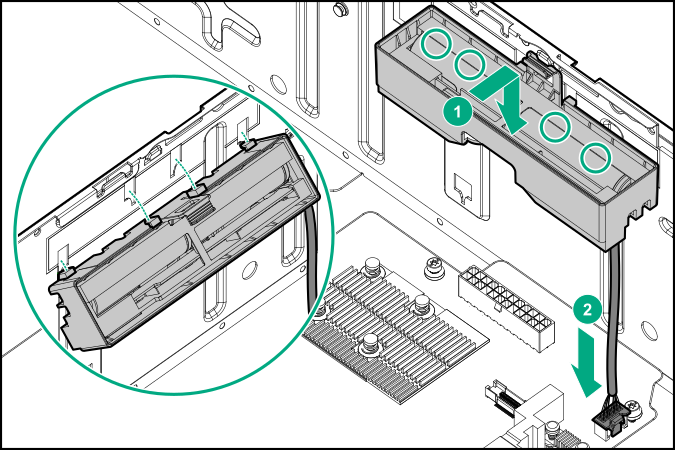
Install the energy pack in the chassis:
- Insert the holder tabs into their corresponding chassis slots, and then slide the holder down
- Connect the energy pack cable to the system board.
The installation is complete.