Installing a DIMM
The server uses memory to perform almost all its operations. Upgrading the server memory capacity leads to faster boot-up, processing period, and timely responses to promote optimum system performance.
In a single-DIMM configuration, install the DIMM in the DIMM slot 2A.
Procedure
-
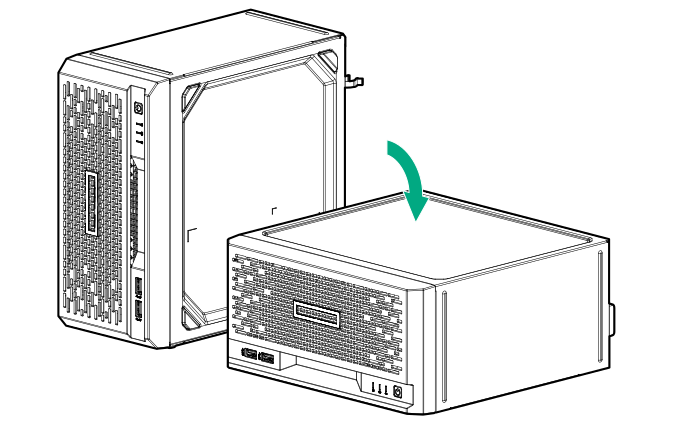
If the server is in a vertical orientation, position the server in a horizontal orientation.
-
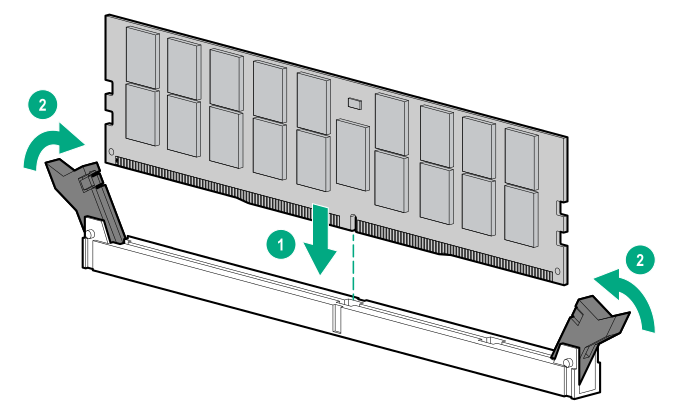
Install the DIMM:
- Align the notch on the bottom edge of the DIMM with the keyed surface of the DIMM slot, and then fully press the DIMM into the slot until the latches snap back into place (callout 2).
The DIMM slots are structured to ensure proper installation. If you try to insert a DIMM but it does not fit easily into the slot, you might have positioned it incorrectly. Reverse the orientation of the DIMM and insert it again.
- Align the notch on the bottom edge of the DIMM with the keyed surface of the DIMM slot, and then fully press the DIMM into the slot until the latches snap back into place (callout 2).
The installation is complete.
After installing the DIMMs, use the to configure the memory settings.