DeviceHub OMA Binding
Estimated reading time: 2 minutes
What is OMA Binding?
When OT Link Platform applies OMA (Open Mobile Alliance) bindings to a DeviceHub tag, DeviceHub will format the collected data according to the OMA standard and it will have the structure required for further processing. The resulting IPSO (Internet Protocol for Smart Objects) topic ensures that all the collected values will be in the proper format so that the data can be saved in a database and used for analysis in other applications.
Additional information can be found here:
Full List of OMA Object Bindings:
For the full list of supported OMA Object bindings, see OMA LWM2M Object, Resource, and Value Details. This is useful for making tag .csv files with OMA bindings defined for each tag.
Object Binding in OT Link Platform
In OT Link Platform, use a DeviceHub Tag to bind to a specific object-instance-resource.
Prerequisites
This procedure assumes that you have created DeviceHub Devices and Tags.
To apply OMA binding to an object:
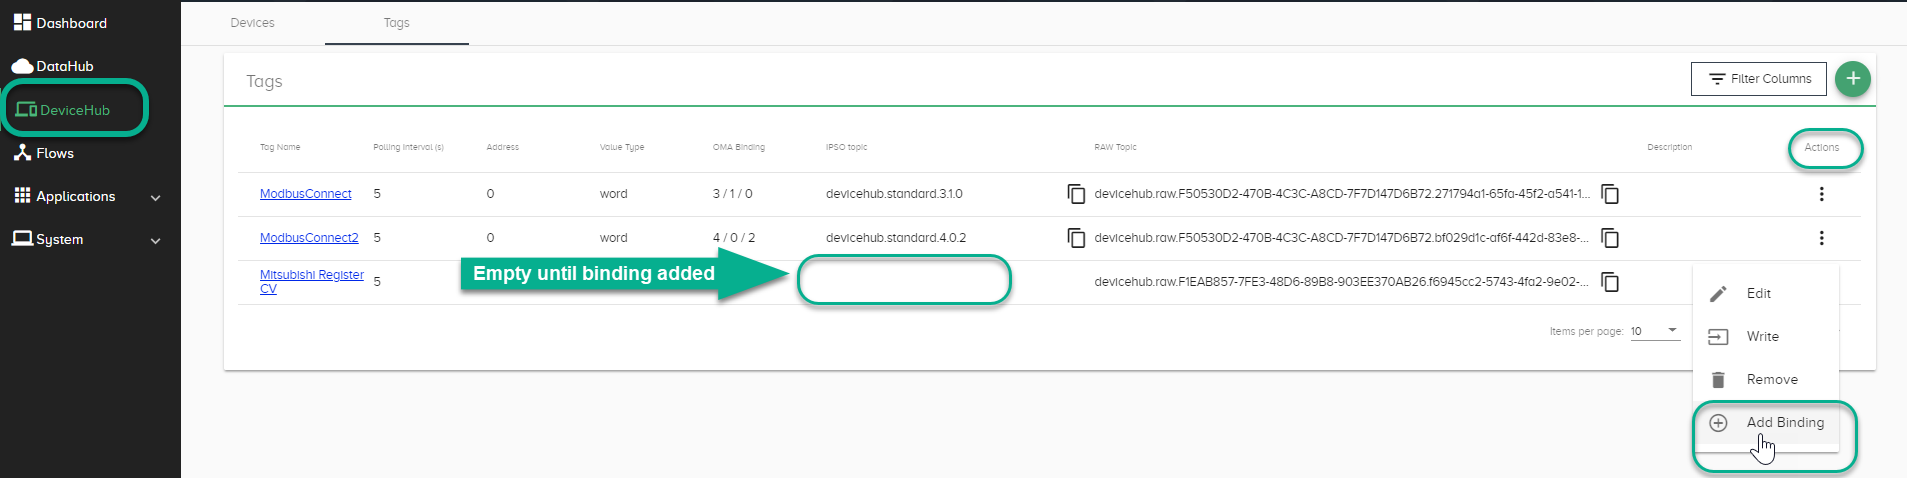
- Click DeviceHub > Tags in the navigation panel.
-
In the Actions list to the right of the tag, select Add Binding.
-
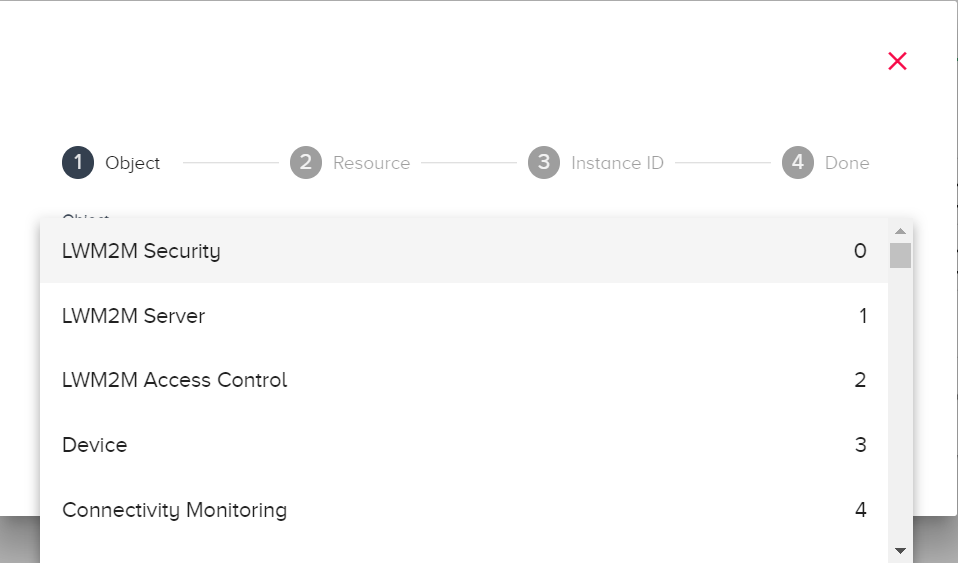
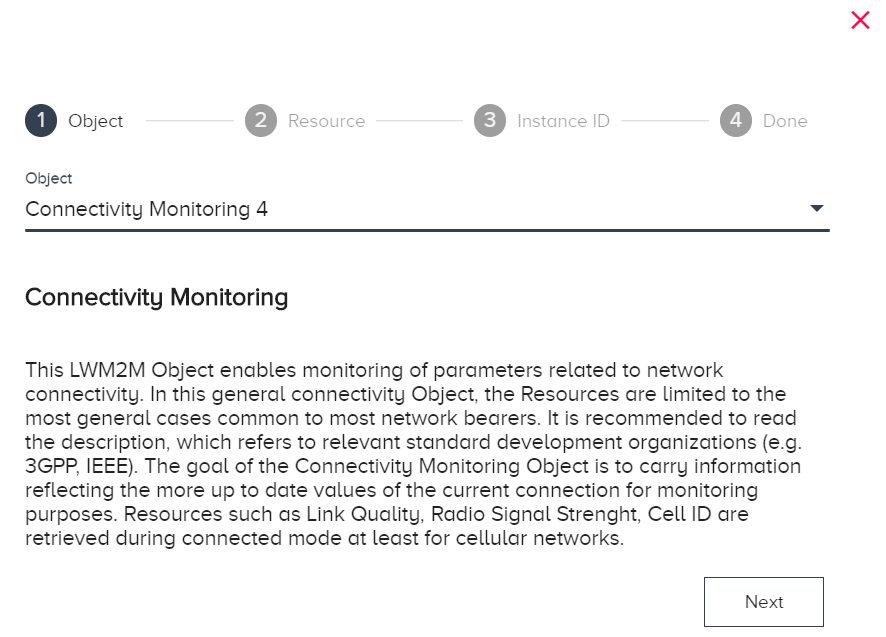
Select the Object from the drop-down list and click Next.
Scroll for more objects.
-
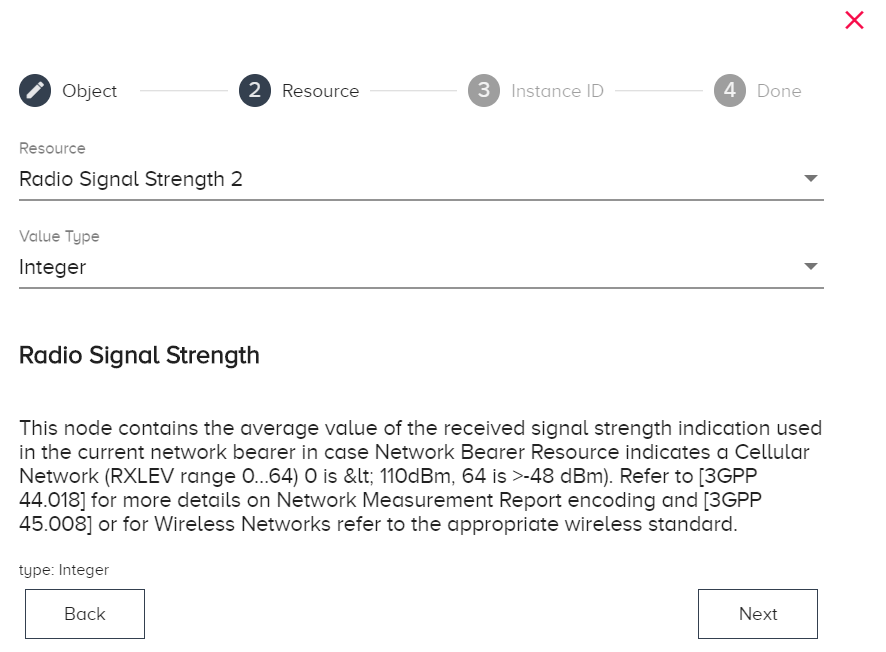
Select a Resource and Value Type and click Next.
The value type will default to a value that is relevant for the resource: String, Integer, Float, Boolean, or Opaque.
The opaque data type is a sequence of binary octets. An example of this data type is in the Temperature IPSO object, where the Reset Min and Max Measured Values resource (3303/0/5605) is an opaque data type.
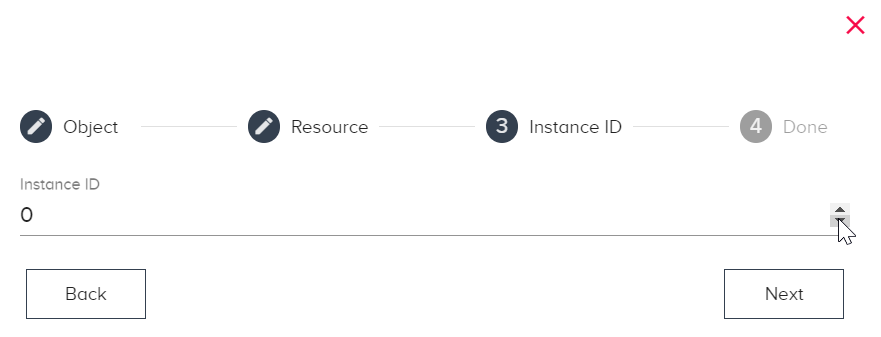
-
Select a numeric Instance ID. Click Next.
-
Review the configuration. If it is correct, click Submit. Otherwise, click Back to re-configure.

Results
- In this example, the OMA Binding is represented as: 4/0/2
OT Link Platform will create the IPSO Topic and display it in the Tags list. The topic name identifies the format. For this example the IPSO topic would be:
devicehub.standard.4.0.2
View a Device in Workload Orchestrator After OMA Binding
After applying an OMA binding, you can view data in Workload Orchestrator with the device’s Explore tab.
To view a device in Workload Orchestrator after OMA binding:
- In Workload Orchestrator, after selecting a Project, navigate to Device Mgmt > Devices.
- Click the OT Link Platform tab.
- Click the Device ID for the relevant device.
-
In the Device window, click the Explore tab.
