|
|
|


Expansion board options
For more information about product features, specifications, options, configurations, and compatibility, see the product QuickSpecs on the Hewlett Packard Enterprise website.
To install the component:
- Power down the server.
- Remove all power:
- Disconnect each power cord from the power source.
- Disconnect each power cord from the server.
- Do one of the following:
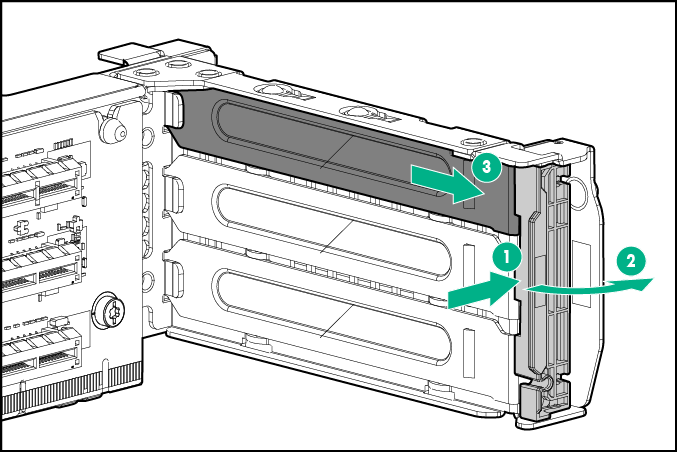
- Remove the access panel.
- Remove the PCI riser cage.
- Identify the expansion slot compatible with the new option, and then remove the cover opposite that slot.
- Verify that any switches or jumpers on the expansion board are set properly. For more information, see the documentation that ships with the option.
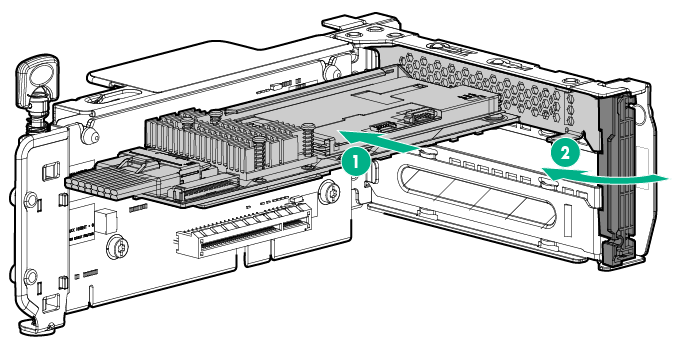
- Install the expansion board. Verify that the board is firmly seated in the slot.
- Connect all necessary internal cabling to the expansion board. For more information on these cabling requirements, see the documentation that ships with the option.
- Install the PCI riser cage.
- Connect the other end of the expansion board internal cables to the system board or to its associated hardware component.

CAUTION: To prevent improper cooling and thermal damage, do not operate the server unless all PCI slots have either an expansion slot cover or an expansion board installed.
- Install the access panel.
- Do one of the following:
- Slide the server into the rack.
- Install the server into the rack.
- Connect all necessary external cabling to the expansion board. For more information on these cabling requirements, see the documentation that ships with the option.
- Power up the server.