|
|
|


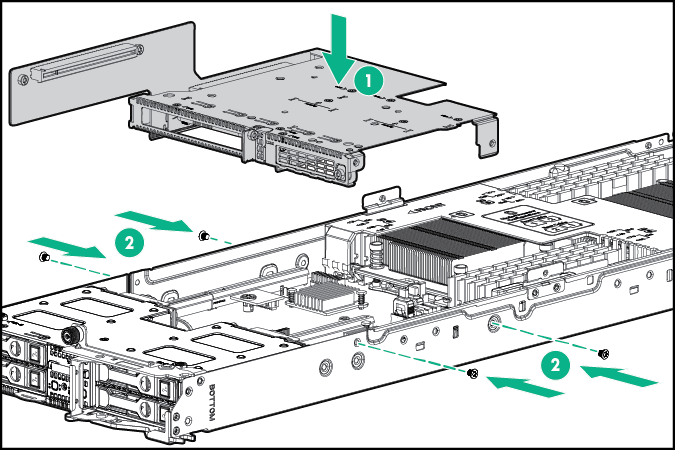
Install the PCIe riser board assembly
- Connect all cables to existing expansion boards.
- Align the PCIe riser board with the corresponding connector on the system board, and then press down the PCIe riser board assembly.
- Install the PCIe riser board assembly.
- While aligning the upper server tray for installation, feed the the intra-tray signal cable and the drive cable up through the space indicated for the cable routing. For information on routing the intra-tray signal cable, see "Intra-tray signal cable routing." For information on routing the drive cables, see "Drive cabling."
- Install the upper server tray.
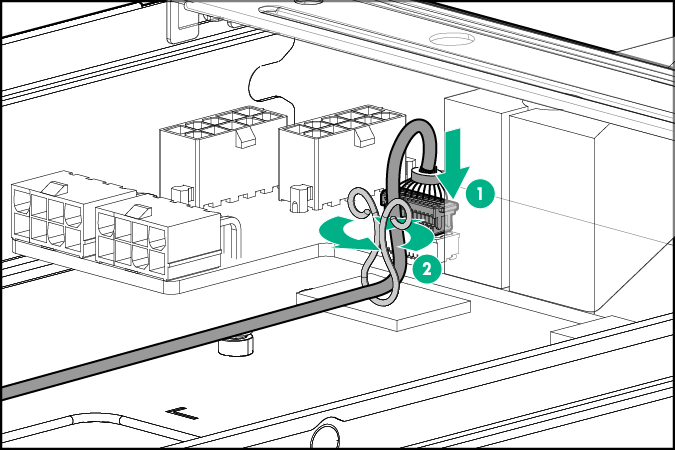
- Connect the intra-tray signal cable to the power expander board.
- Install the accelerator cages.
- Remove the upper tray support bracket.
- Connect and route all accelerator cables to the power expander board.
- Install the upper server tray support bracket.
- Connect and route all cables for drive cage assembly 2.
- Install drive cage assembly 2.
- Install all drives.
- Install the server into the chassis.
- Connect all peripheral cables to the server.
- Press the Power On/Standby button.
The server exits standby mode and applies full power to the system. The system power LED changes from amber to green.