Removing and replacing the front I/O assembly

Prerequisites

Before you perform this procedure, make sure that you have a T-15 Torx screwdriver available.

Procedure
  1. Remove the front bezel.
  2. Power down the server.
  3. Remove all power:
    1. Disconnect each power cord from the power source.
    2. Disconnect each power cord from the server.
  4. Disconnect all peripheral cables from the server.
  5. Do one of the following:
  6. Remove the access panel.
  7. Remove the air baffle.
  8. If installed, remove the fan cage.
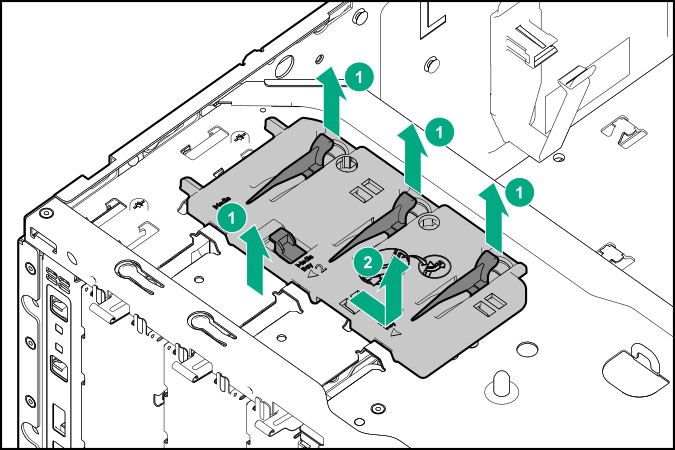
  9. Remove the blue media device retainer:
    1. Release the drive latches.
    2. Slide the retainer as shown, and then remove the retainer from the chassis.

    Removing the media device retainer
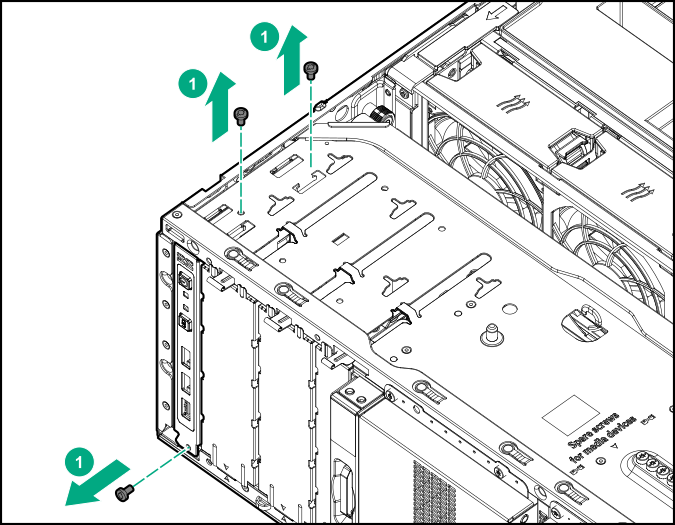
  10. Remove the front I/O cage screws.

    Removing the front I/O cage screws
  11. Disconnect the front I/O and front USB cables from the system board.
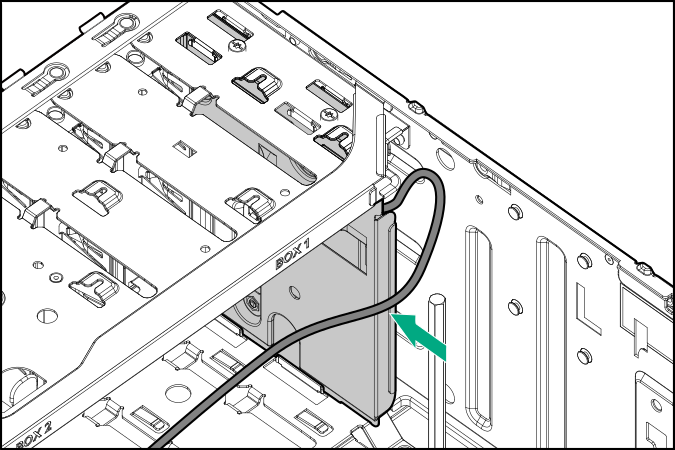
  12. Release the front I/O cable assembly from the cable channel on top of the drive boxes.

    Releasing the front I/O cable assembly from the cable channel
  13. Remove the front I/O assembly from the chassis.

    Removing the front I/O assembly

To replace the component, reverse the removal procedure.