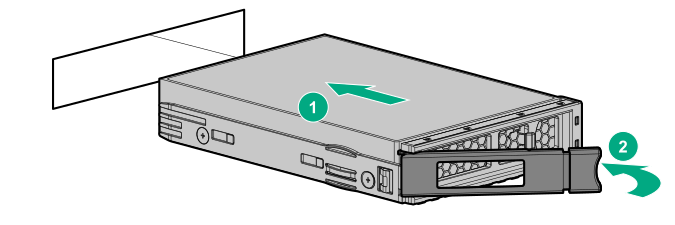
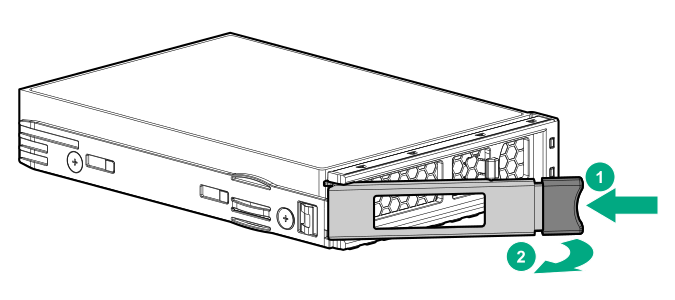
Removing and replacing a drive
Procedure
-
Remove the drive.
 NOTE: To avoid damage to the device, do not use the removal handle to carry it.CAUTION: To prevent improper cooling and thermal damage, do not operate the chassis unless all bays are populated with a component or a blank.WARNING:
To reduce the risk of injury from electric shock, do not install more than one drive carrier at a time.
-
Prepare the low-profile LFF hot-plug drive for installation.
-
Install the low-profile LFF hot-plug drive in the drive drawer.