Removing and replacing an expansion board
-
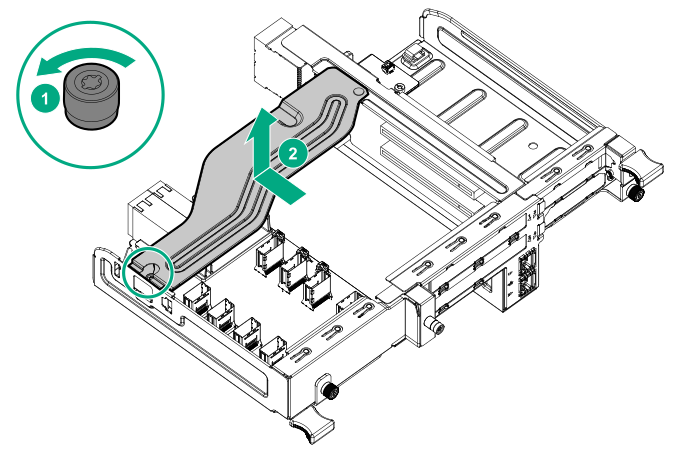
Remove the support bracket from the I/O module.
-
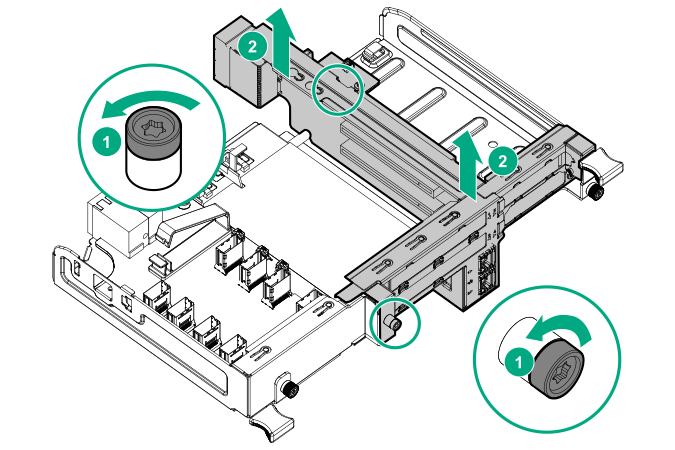
Remove the riser assembly from the I/O module.
-
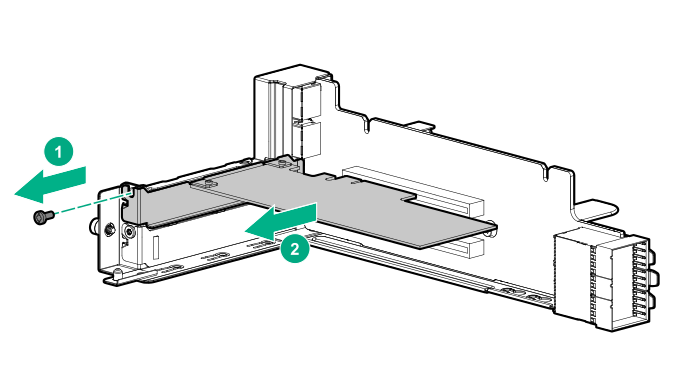
Remove the expansion board option from the PCIe expansion slot.
To replace the component:
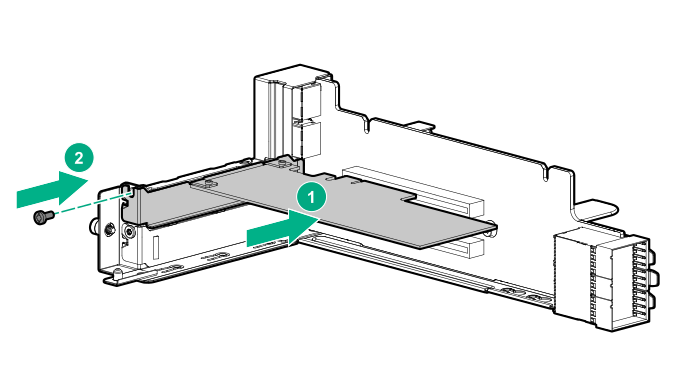
Install a supported expansion board option in one of the PCIe expansion slots.
IMPORTANT:If replacing a Pensando DSP DSC-25 2p SFP28 card, you must first decommission the card using the Pensando Policy and Services Manager (PSM).
For more information, see Pensando Distributed Services Card for Single-Wire Management (DSC-25-SWM) Removal/Replacement Guide on the Hewlett Packard Enterprise website (https://www.hpe.com/support/dsc25-replacement).
NOTE:If replacing a Pensando DSP DSC-25 2p SFP28 card, the card can be installed into any slot.
Cable the board according to the option installed. For more information, see I/O module option cabling.
If you are replacing a Pensando DSP DSC-25 2p SFP28 card, associate the new DSC-25 card with a Pensando Policy and Services Manager (PSM).
For more information, see Pensando Distributed Services Card for Single-Wire Management (DSC-25-SWM) Removal/Replacement Guide on the Hewlett Packard Enterprise website (https://www.hpe.com/support/dsc25-replacement).
Connect the controller backup power cable to the controller backup power connector on the system or riser board.
Connect the energy pack cable to the connector on the I/O SAS board.