Installing an expansion board in the primary riser cage

The primary riser slot only supports low-profile expansion boards. For more information on this riser option, see Primary riser board components.

CAUTION:

The maximum inlet ambient temperature for most components installed in the system is 35°C (95°F). Some components, however, are subject to thermal limitations depending on the chassis model and the fan configuration. There are some hardware configurations where it is necessary to limit the number of drives installed in the chassis. For more information, see Temperature requirements.

Prerequisites

Before you perform this procedure, make sure that you have a T-15 Torx screwdriver available.

Procedure
  1. Power down the server.
  2. Disconnect all peripheral cables from the server.
  3. Remove the server from the chassis.
  4. Remove the bayonet board.
  5. Remove the three-slot secondary riser cage.
  6. Remove the primary riser cage.
  7. Remove the primary riser slot blank.

    Removing the primary riser slot blank
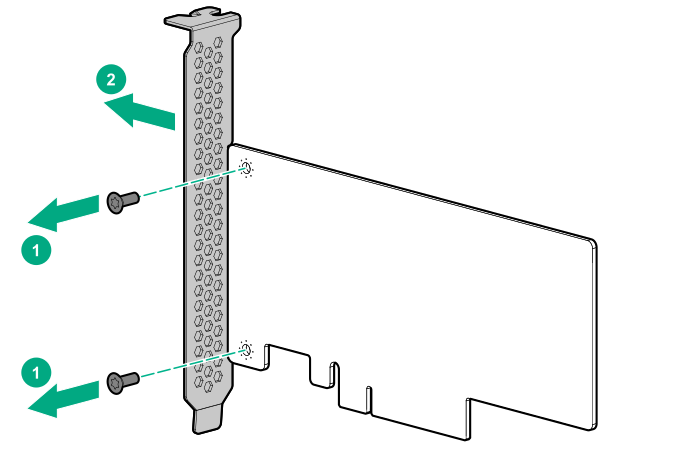
  8. If installed, remove the full-height bracket from the expansion board.

    Removing the full-height bracket from an expansion board
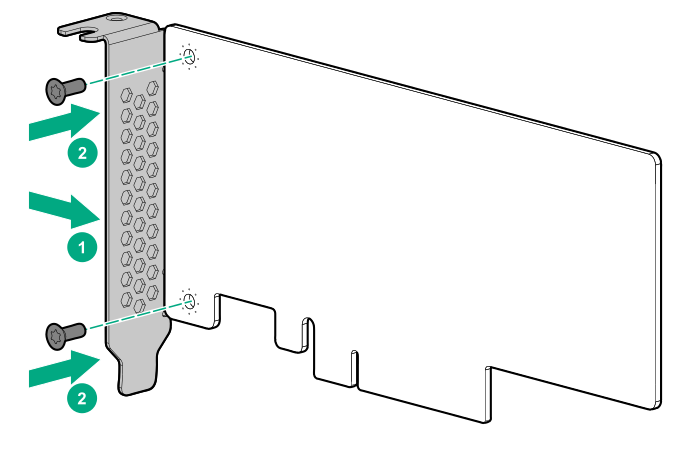
  9. Install the low-profile bracket on the expansion board.

    Installing the low-profile bracket on an expansion board
  10. Make sure that any switches or jumpers on the expansion board are set properly.

    For more information, see the documentation that ships with the option.

  11. Connect all necessary internal cabling to the expansion board.

    For more information on these cabling requirements, see the documentation that ships with the option.

  12. Install the expansion board. Make sure that the board is firmly seated in the slot.

    Installing the expansion board in the primary riser slot
  13. Install the primary riser cage.
  14. Install the three-slot secondary riser cage.
  15. Install the bayonet board.
  16. Install the server into the chassis.
  17. Connect all peripheral cables to the server.
  18. Power up the server.

The installation is complete.