Installing the M.2 riser board and M.2 interposer board
The M.2 riser board supports two M.2 SSDs. This server blade does not support mixing M.2 SSD sizes or bus protocols.
Prerequisites
To install the M.2 SSDs on the M.2 riser board, you need a No. 1 Phillips screwdriver.
Procedure
-
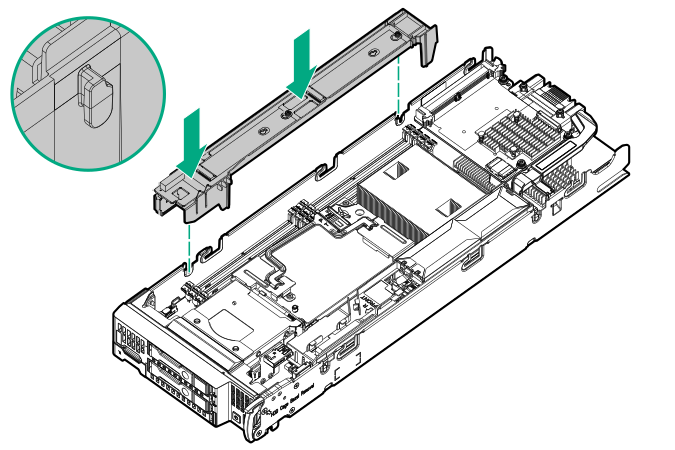
Remove the left DIMM baffle.

-
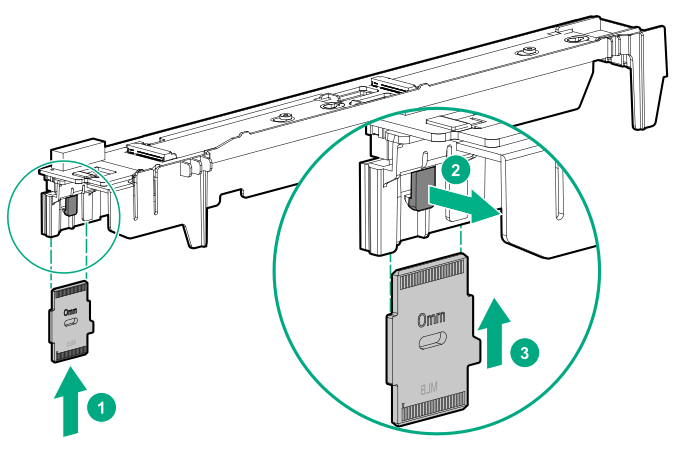
Align and install the M.2 riser board on the left DIMM baffle.
IMPORTANT:
Be sure that the M.2 riser board aligns with the 7 guides and the triangular notch on the left DIMM baffle.

-
Install the M.2 interposer board on the left DIMM baffle.
IMPORTANT:
MLB is printed on the M.2 interposer board to indicate edge of the board that connects to the system board. When the M.2 interposer board is installed, MLB must face out towards the edge of the server blade.
-
Align and install the left DIMM baffle in the
server blade.
IMPORTANT:
When installing each DIMM baffle, be sure that the alignment tabs engage with the side of the server blade.