Installing the OCP network adapter

CAUTION: EMI disturbs the normal functioning of an electronic device. To maintain proper EMI shielding, do not operate the system when the QSFP port knockout or the OCP network adapter is not installed.
Prerequisites

Before you perform this procedure, make sure that you have the following items available:

  • Flathead screwdriver

  • T-15 Torx screwdriver

Procedure
  1. Power down the server.
  2. Disconnect all peripheral cables from the server.
  3. Remove the server from the chassis.
  4. Remove the expansion cage.
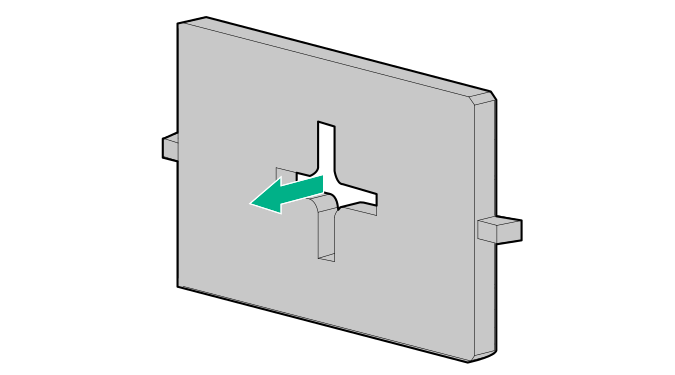
  5. Using a flat screwdriver, toggle the QSFP port knockout to loosen it, and then pull the knockout out of the rear bracket.

    Removing the QSFP port knockout
  6. Install the OCP air baffle.

    Installing the OCP air baffle
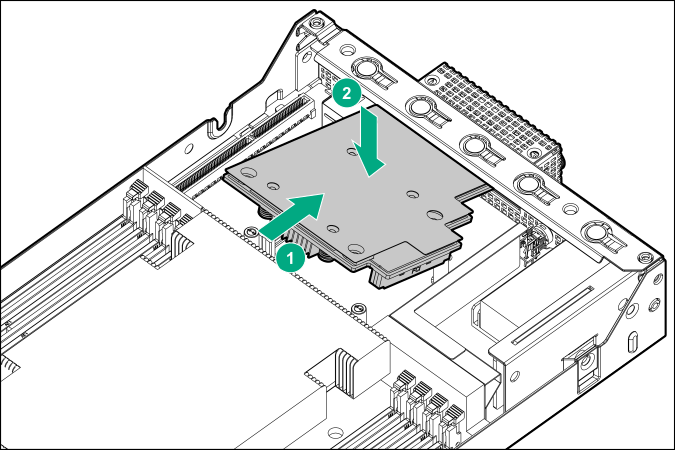
  7. Install the OCP network adapter:
    1. Align the port side of the OCP network adapter in the rear bracket.

    2. Press the OCP network adapter down to ensure that the adapter is firmly seated on the connectors.


      Installing the OCP network adapter
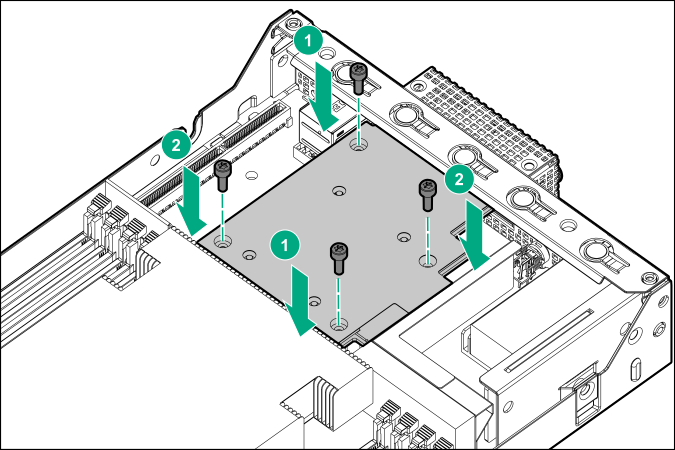
    3. Install one pair of diagonally opposite screws halfway, and then install the other pair of screws.

      The installation is finished by completely tightening the screws in the same sequence.


      Installing the OCP network adapter screws
  8. Install the expansion cage.
  9. Install the server into the chassis.
  10. Connect all peripheral cables to the server.
  11. Power up the server.

IMPORTANT:

If you have installed the HPE EDR InfiniBand/Ethernet 100Gb single-port 841OCP QSFP28 Adapter, use a passive direct attach copper cable (DACC). An active optical cable (AOC) is not supported.

  1. Do one of the following:
  2. To verify that the OCP network adapter is working properly, check the OCP network adapter LEDs:
    • NIC link status (left) = Solid green

    • NIC status (right) = Flashing green

The installation is complete.