Installing a transceiver
Prerequisites
Before installing a transceiver, be sure to read the following:
If you are installing the transceiver in the QSFP port of the OCP network adapter, review the set temperature requirements for this configuration.
Transceiver documentation for specific operational and cabling requirements
Procedure
-
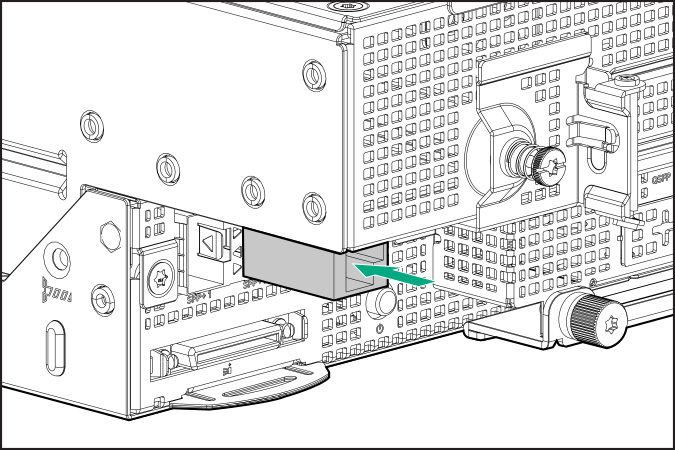
Hold the transceiver by its sides and gently insert it into the SFP+ or QSFP port until it clicks into place.
Transceivers are keyed so that they can only be inserted in the correct orientation. When the transceiver does not fit easily into the port, you might have positioned it incorrectly. Reverse the orientation of the transceiver and insert it again.
The installation is complete.