Installing the redundant power supply enablement kit
Prerequisites
Before you perform this procedure, make sure that you have the following items available:
- The components included with the hardware option kit
T-15 Torx screwdriver
T-10 Torx screwdriver
- Hot-plug power supply
Procedure
-
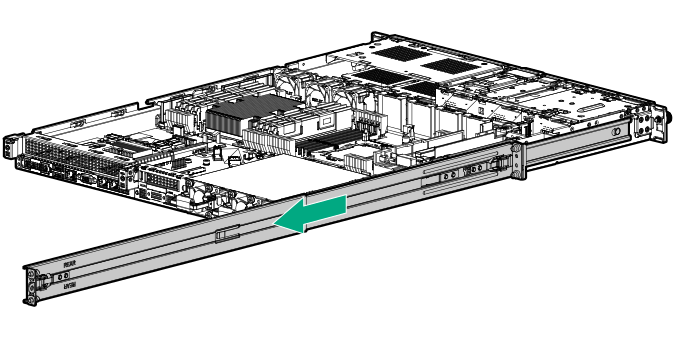
Remove the rail.
- Extend the rail.
- Remove the rail from the
server.
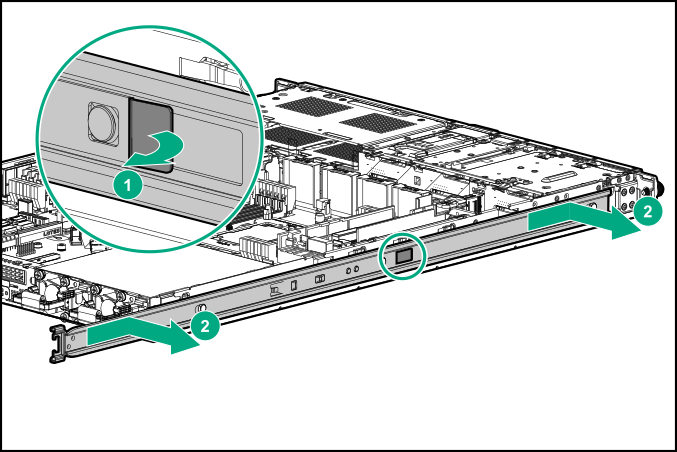
- Extend the rail.
-
Remove the non-hot-plug power supply.

-
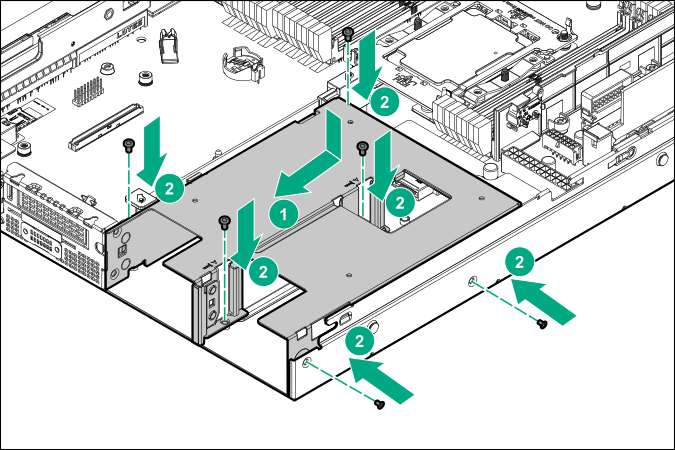
Install the redundant power supply cage.
The installation is complete.