Install an optical drive
Prerequisites
Before you perform this procedure, make sure that you have the following items available:
T-15 Torx screwdriver
Phillips No. 2 screwdriver
- Optical drive option kit. This kit includes:
Optical drive
Optical drive bracket
Phillips No. 2 screws (2, for securing the optical drive bracket)
T-15 screw (1, for securing the optical drive)
Procedure
-
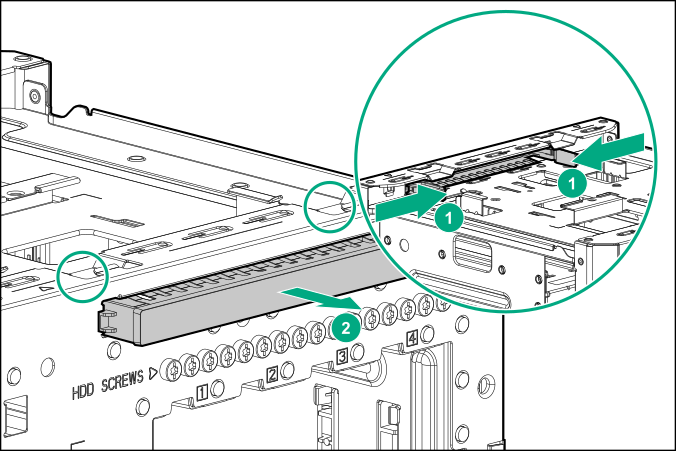
Facing the server, press and hold the release latches on both sides of the optical drive blank, and then push the blank out of the media bay.
Retain the blank for future use.
-
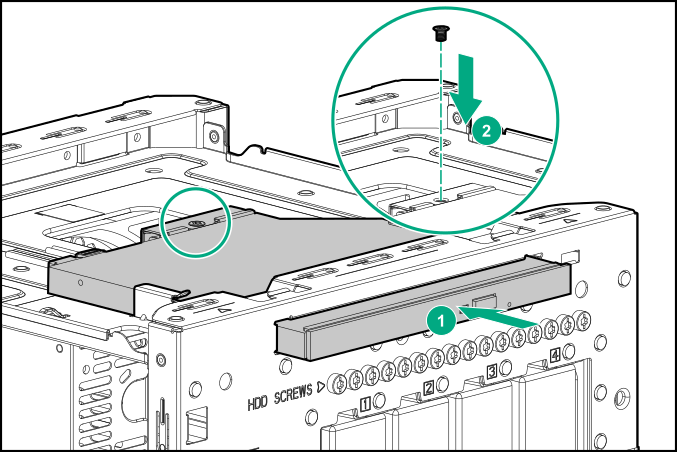
Attach the bracket to the optical drive.

-
Install the optical drive screw.
-
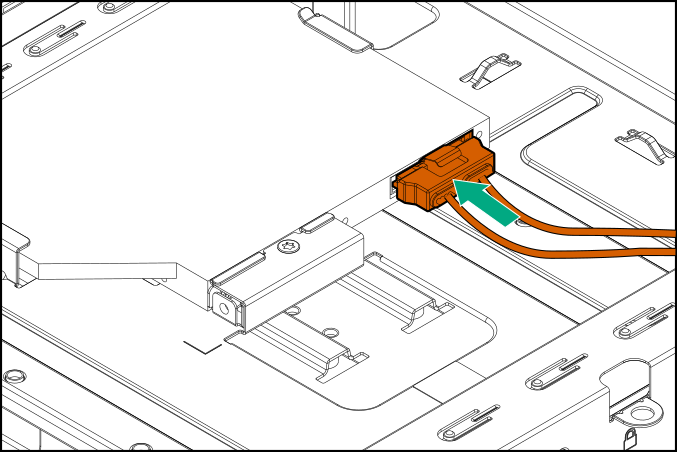
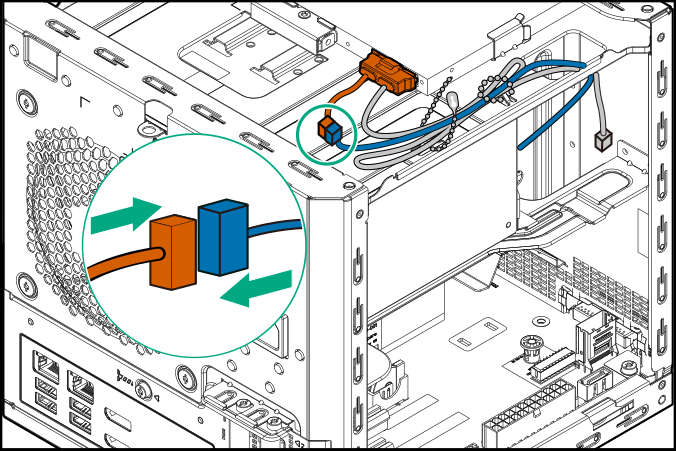
Connect the optical drive SATA Y-cable:
- Connect the common end of the cable to the optical drive.
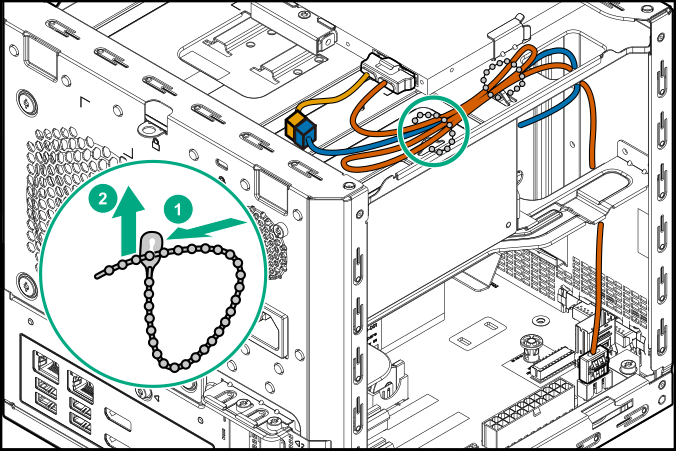
- Open the cable tie.
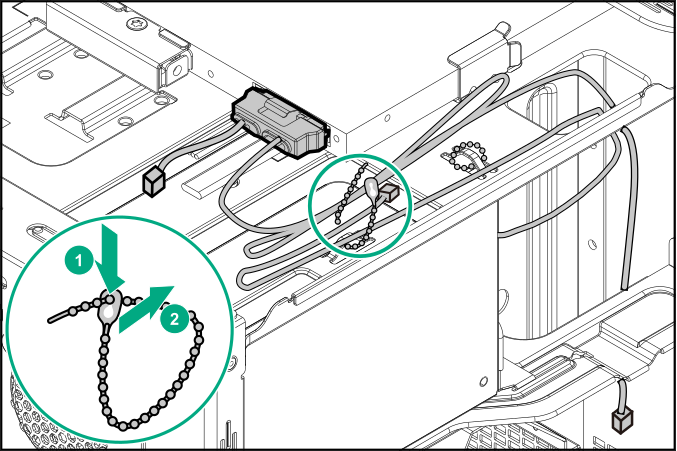
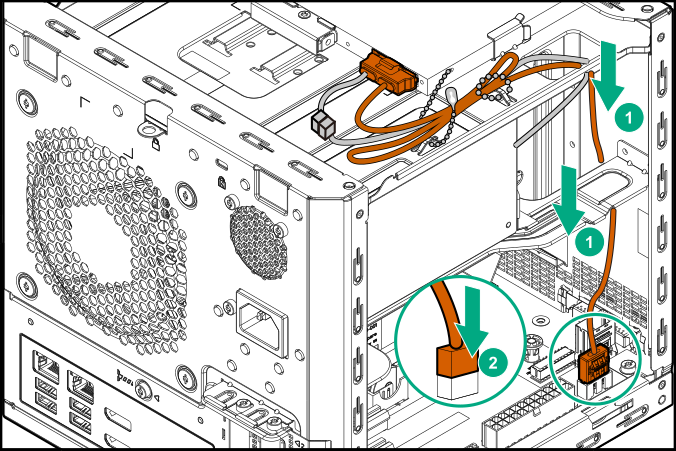
- Connect the power end of the SATA cable to the power supply cable labeled P3.
- Connect the data end of the cable to the SATA port.
- Bundle the extra length of the SATA Y-cable and the power supply P3 cable, and then secure them in the cable tie.
- Connect the common end of the cable to the optical drive.