Configuring the DHCP server for Windows on your laptop
The DHCP Server for Windows application does not have to be installed in the system. It can be downloaded and run.
-
Your laptop must be directly connected to the management port of the chassis.
-
Your laptop must be disconnected from the network. If you want to run the DHCP service while connected to a network, ensure that you have permission from the network administrator first. Running a DHCP service on a network is a complicated process, and must not be done without experience, and discussion with your technical staff.
-
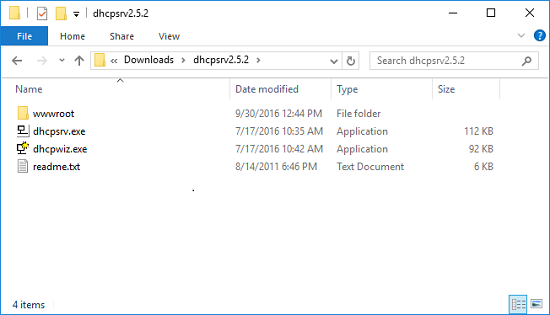
Locate, and unzip the downloaded file.
-
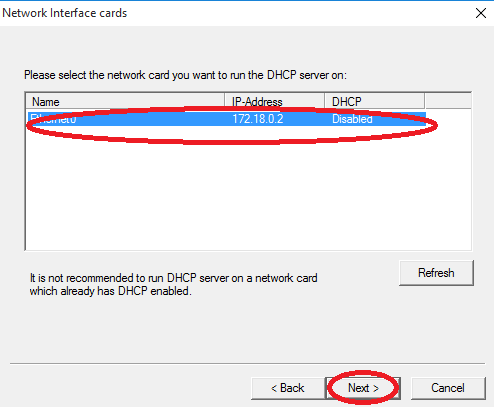
Select your network interface, and then click the
Next button.
The Supported Protocols window appears.
-
Select the
HTTP box, and optionally, the
DNS box, and then click the
Next button.
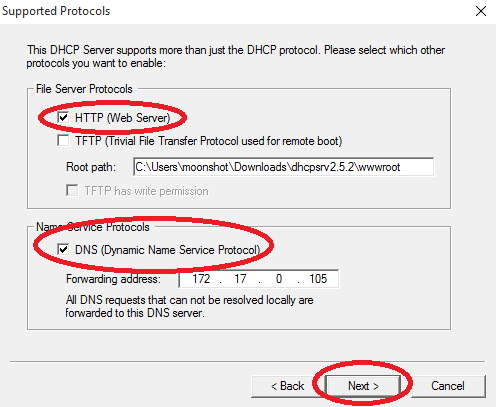
The Configuring DHCP for Interface window appears.
-
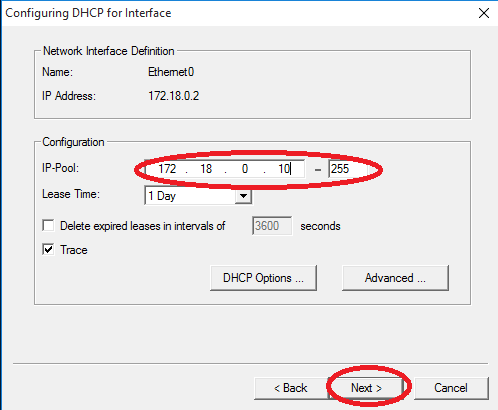
Enter the range of IP addresses that your DHCP server can use to assign to DHCP clients, and then click the
Next button.
Since you are using this service for only temporarily assigning an IP address to your iLO, this pool has to be just one or two available IP addresses.
The Writing the INI file window appears.
-
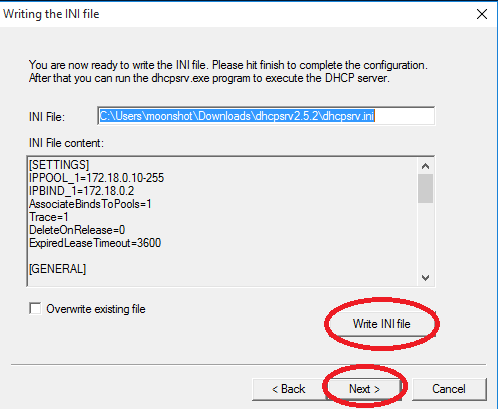
Click the
Write INI file button, and then click the
Next button.
Clicking the Write INI file button saves the configuration file, and enables you to start the service.
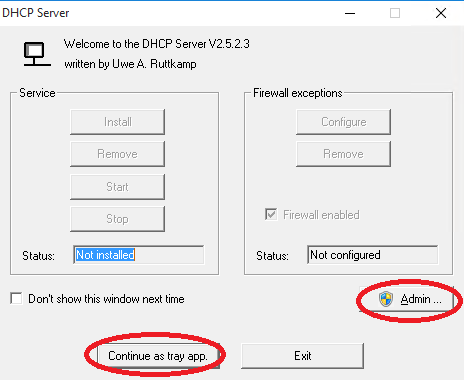
The DHCP server window appears.
-
Click the
Admin button.
A confirmation window appears.
-
Right-click the DHCP server icon on the system tray.

-
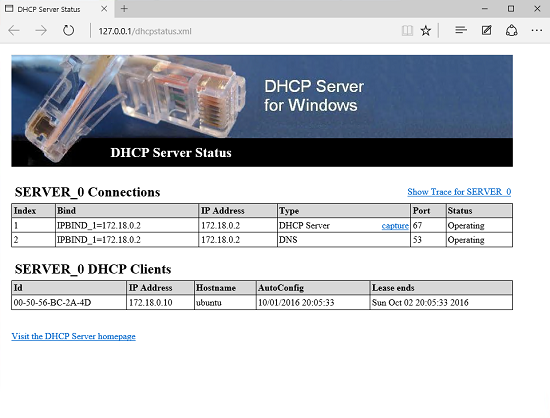
To open the web interface of your DHCP server, select
Open Status from the menu.
The DHCP Server Status webpage appears displaying the IP address of any device (your iLO) that has been assigned an IP address from your server.
You can configure the iLO static IP address now. For more information, see "Setting the static IP address using the serial console cable."
After the IP address assignment is complete, you can right-click the tray icon, and click Exit from the menu to stop the DHCP service.