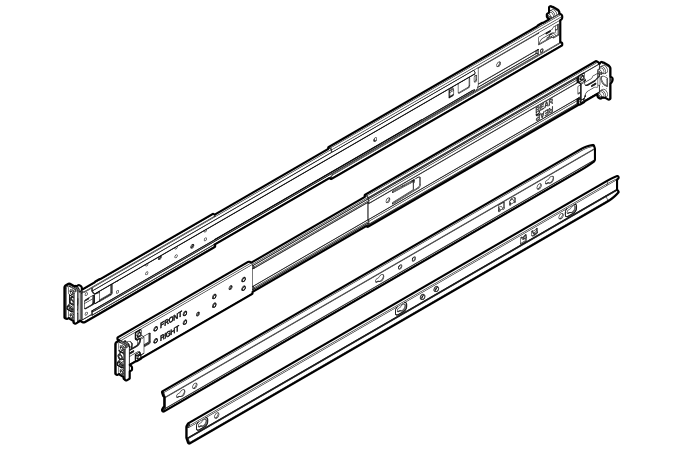
Installing the rack rail option
The rack rails can be installed in round-hole, square-hole, or threaded-hole racks. These rails occupy 1U position on the rack.
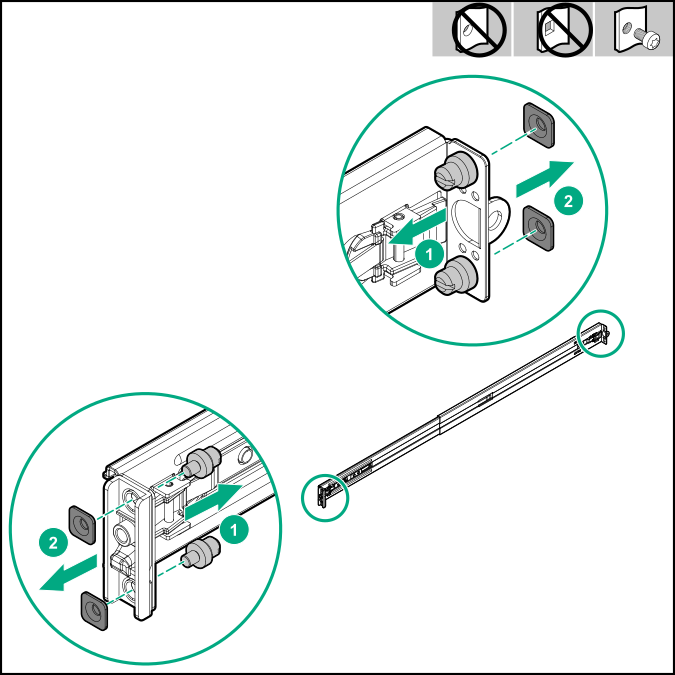
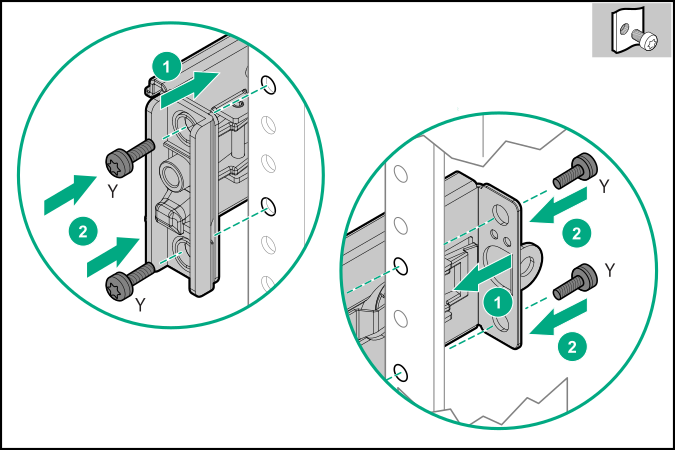
The illustrations used in this section show an icon on the upper right corner of the image. This icon indicates the rack type for which the action illustrated in the image is valid.
| Icon | Rack type |
|---|---|
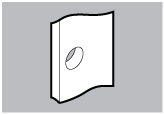 |
Round-hole rack |
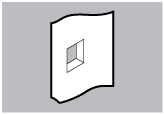 |
Square-hole rack |
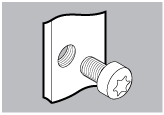 |
Threaded-hole rack |
Procedure
-
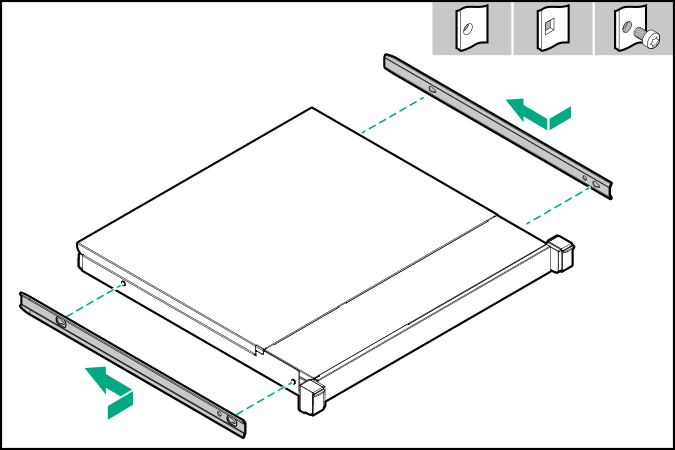
Attach the sliding rails to the server:
- Align the notches on the rail with the pins on the side.
- Slide the rail towards the rear of the server to lock it into place.
-
Locate the orientation markers on the mounting rails.
The front end of the rails are marked FRONT LEFT and FRONT RIGHT.
-
Remove the pins and washers from the mounting rails.
-
Fasten the mounting rails to the rack columns:
For round-hole or square-hole racks: Insert the rail pins into the rack column holes.

For threaded-hole rack: Insert the rail pins into the rack column holes, and then install the mounting screws.
The installation is complete.