Prerequisites
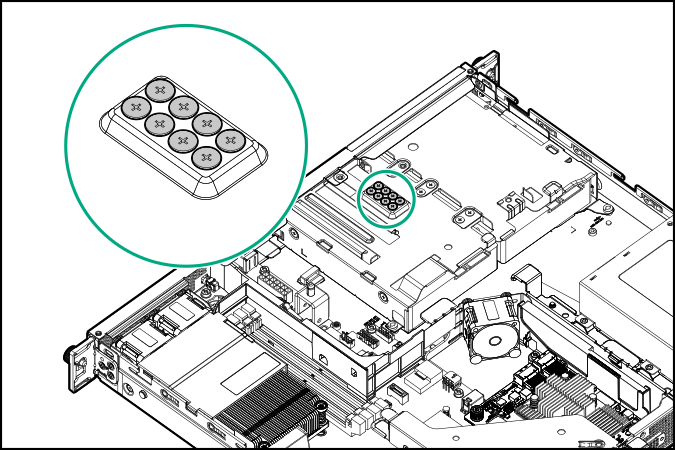
Before you perform this procedure, make sure that you have the following tools available:
Procedure
-
If installed,
remove the front bezel.
-
Power down the server.
-
Remove all power:
- Disconnect each power cord from the power source.
- Disconnect each power cord from the server.
-
Disconnect all peripheral cables from the server.
-
Remove the server from the rack.
-
Remove the access panel.
-
Disconnect all cables from the drive cage.
-
Remove screws from the drive cage. Each drive requires four screws.
-
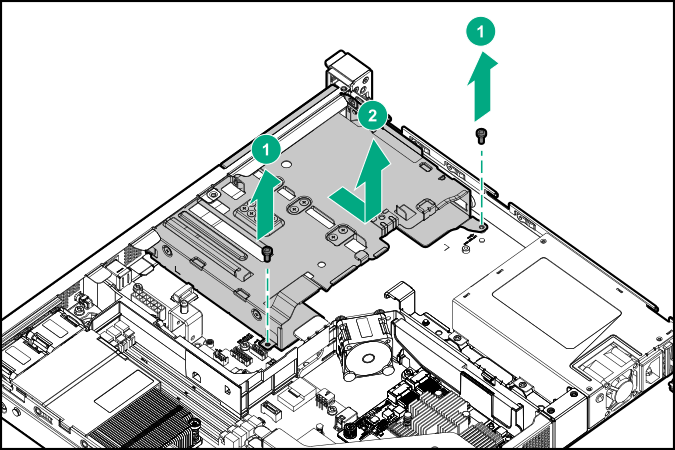
Remove the non-hot-plug drive cage.
-
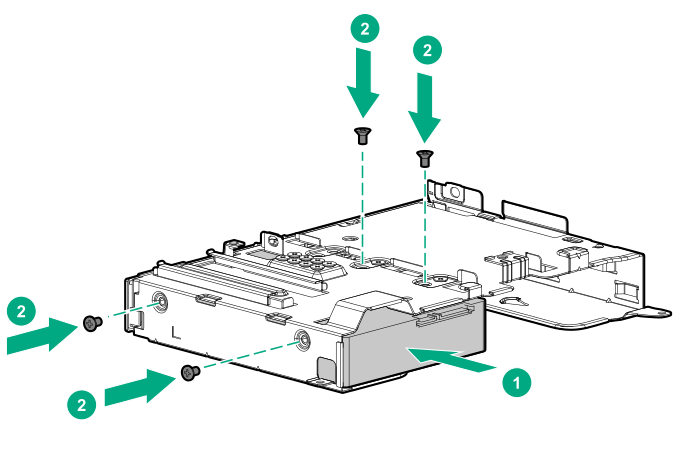
Install the non-hot-plug drive.
-
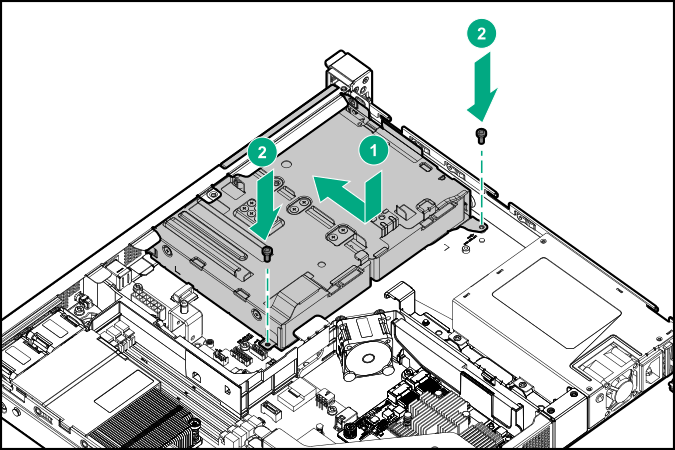
Install the non-hot-plug drive cage assembly.
-
Connect the drive cables.
-
Install the access panel.
-
Install the server into the rack.
-
Connect all peripheral cables to the server.
-
Connect the power cords:
- Connect each power cord to the server.
- Connect each power cord to the power source.
-
Power up the server.
-
If removed,
install the front bezel.


