Prerequisites
Before beginning installation, ensure that the server is updated with the latest operating system firmware and drivers.
Procedure
Installing drives onto the
boot device
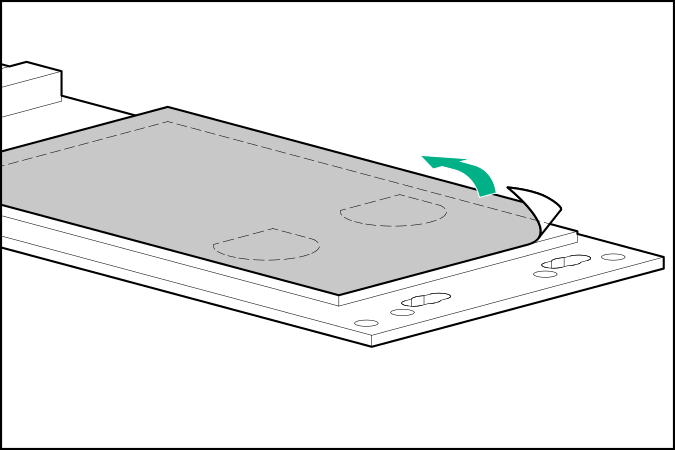
Remove the liner from the thermal interface pad.
Install the drives.
Installing the
boot device
Power down the server .
Remove all power:
Disconnect each power cord from the power source.
Disconnect each power cord from the
server .
Do one of the following:
Remove the access panel (Removing the access panel ).
CAUTION: Do not operate the
server for long periods with the access panel open or removed. Operating the
server in this manner results in improper airflow and improper cooling that can lead to thermal damage.
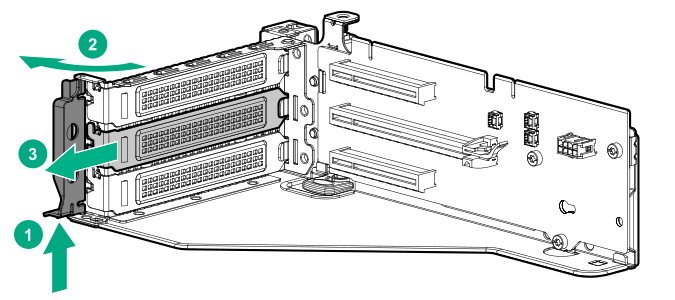
Remove the riser cage (Removing the PCIe riser cages ).
Select an available PCIe expansion slot that is x8 physical size and x4 electrical.
Remove the expansion slot cover from the riser cage.
The primary PCIe riser cage is shown.
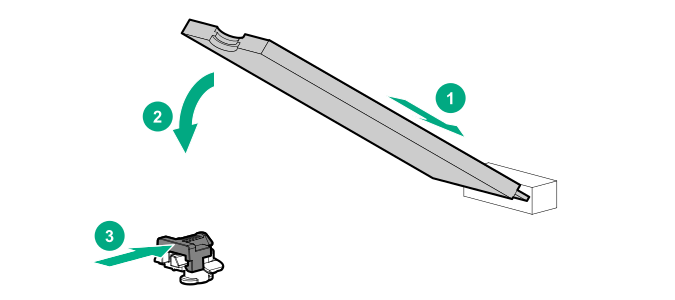
Install the
boot device .
Install any components that were removed to access the expansion slot.
Install the access panel.
Do one of the following:
Power up the server.
Deploying an operating system
Deploy a supported operating system to the
boot device drive.
For more information, see the product QuickSpecs (https://www.hpe.com/info/qs ).
After the OS installation completes, the system automatically copies the operating system to the second, mirrored drive on the
boot device .
Proceed with normal system setup and operation.