Installing the system into the rack
To install the system into a rack with square, round, or threaded holes, refer to the instructions that ship with the rack hardware kit.
If you are installing the system into a telco rack, order the appropriate option kit at the Rack Solutions website (https://www.hpe.com/us/en/integrated-systems/rack-power-cooling.html). Follow the system-specific instructions on the website to install the rack brackets.
Use the following information when connecting peripheral cables and power cords to the system.
Observe local occupational health and safety requirements and guidelines for manual material handling.
Get help to lift and stabilize the product during installation or removal, especially when the product is not fastened to the rails. Hewlett Packard Enterprise recommends that a minimum of two people are required for all rack system installations. A third person may be required to help align the system if the system is installed higher than chest level.
Use caution when installing the system in or removing the system from the rack; it is unstable when not fastened to the rails.
Always plan the rack installation so that the heaviest item is on the bottom of the rack. Install the heaviest item first, and continue to populate the rack from the bottom to the top.
Steps 1 and 2 in this section only apply to the first-time installation of the system into the rack.
-
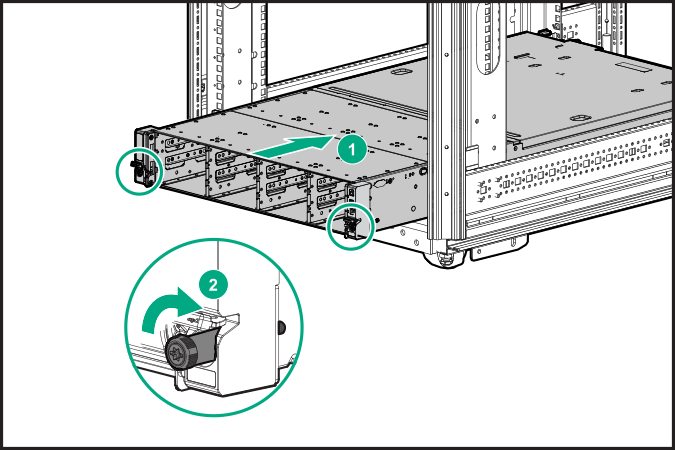
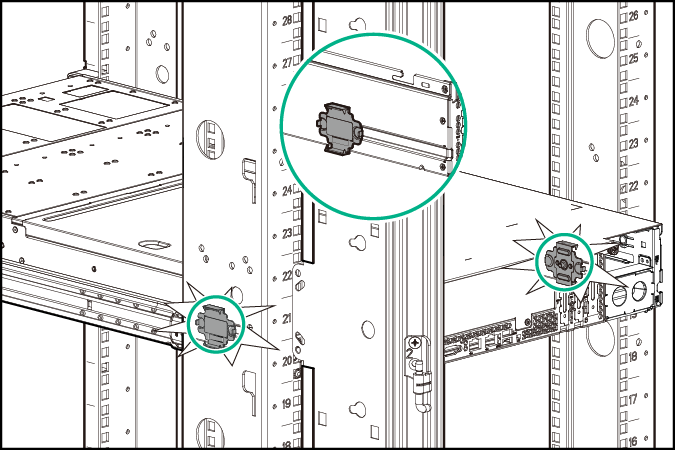
The chassis retention brackets help to stabilize the
system when the front drive cages are extended.
The following illustration shows the rack rail with the shelf portion highlighted in gray.
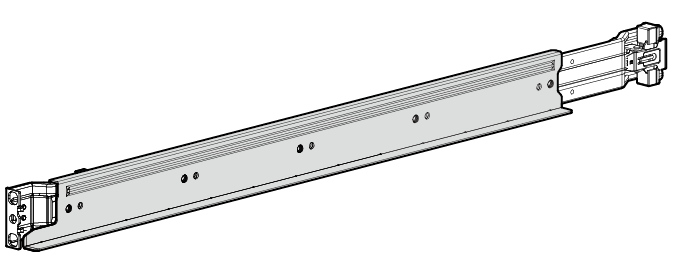
Install the chassis retention brackets on the non-shelf portion of the rack rail.
-
Tighten the rack ear thumbscrews.
-
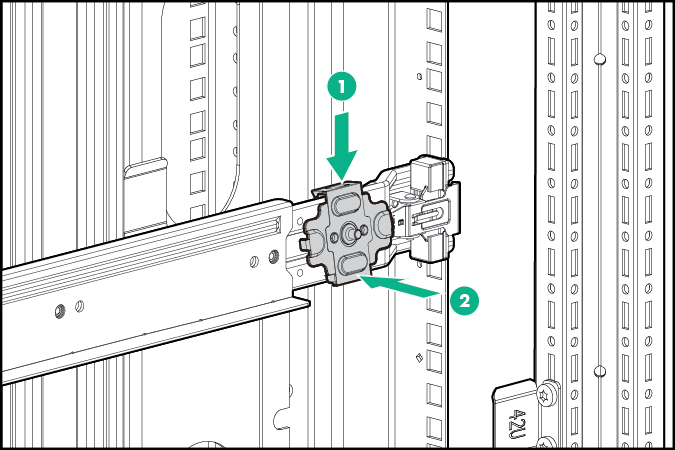
Make sure the pins on the chassis retention brackets slot into the notches located on both sides of the chassis.
-
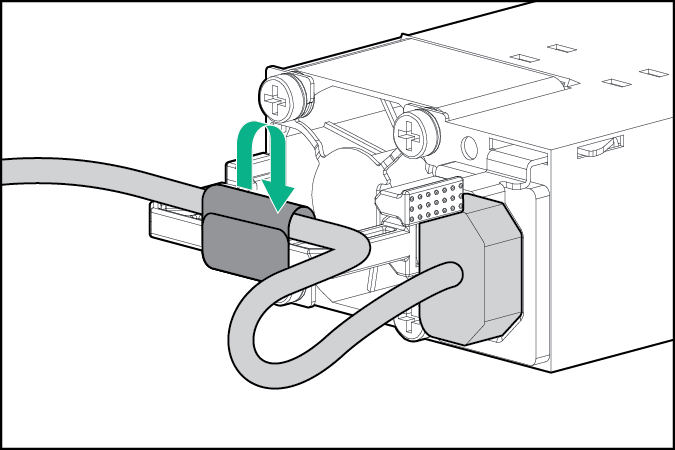
To prevent accidental power cord disconnection when sliding the
system in and out of the rack, secure the power cord in the strain relief strap attached to the power supply handle.