Installing the six-bay SFF NVMe rear drive cage
IMPORTANT:
Hewlett Packard Enterprise recommends installing at least one drive in the rear drive cage. Populate drive bays based on the drive numbering sequence. Start from the drive bay with the lowest device number (Drive numbering).
This drive cage option supports NVMe drives. These drives are assigned the drive numbers 1–6 (Drive numbering).
Depending on the
system configuration, the NVMe rear drive cage may connect only to PCIe slot 2, PCIe slots 2 and 6, or only to slot 6. The number of processors required depends on which slots will be used.
If the NVMe rear drive cage will connect only to slot 2, then only one processor is required.
If the NVMe rear drive cage will connect to PCIe slots 2 and 6, or only to slot 6, then two processors are required.
Prerequisites
Before you perform this procedure, make sure that you have the following items available:
The components included with the hardware kit
Torx T-15 screwdriver
Procedure
-
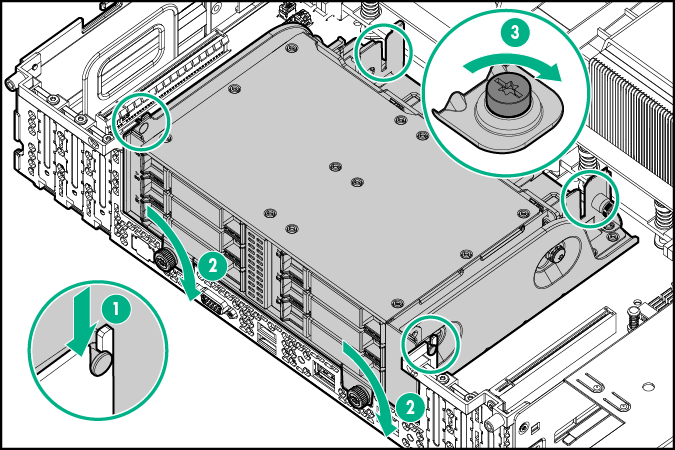
Align the pins on the drive cage with the notches on the rear panel and install the drive cage.
-
If the preinstalled cables must be moved from one side of the drive cage to the other side, do the following:
- Loosen the screws from the plastic cover.
- Remove the plastic cover from the rear of the drive cage.
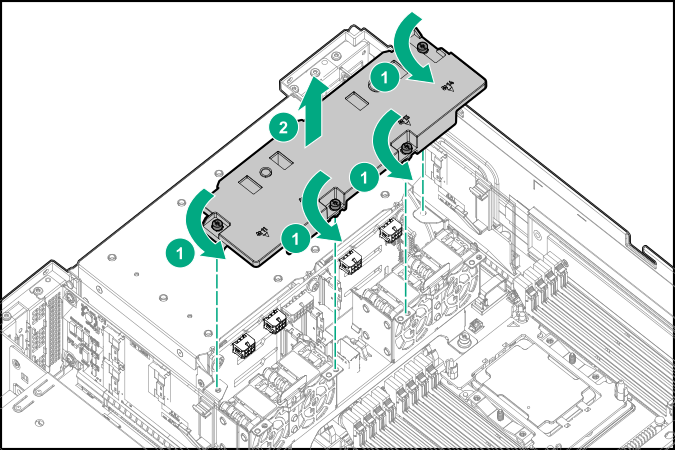
- Move the cables to the side closest to the slot where they will be connected.
- Replace the plastic cover.