Installing the redundant power supply assembly
CAUTION: All power supplies installed in the server must have the same output power capacity. Verify that all power supplies have the same part number and label color. The system becomes unstable and might shut down when it detects different power supplies.
CAUTION: To prevent improper cooling and thermal damage, do not operate the server unless all bays are populated with either a component or a blank.
WARNING: To reduce the risk of personal injury from hot surfaces, allow the power supply or power supply blank to cool before touching it.
Prerequisites
Before you perform this procedure, make sure that you have the following items available:
T-10 Torx screwdriver
T-15 Torx screwdriver
Procedure
-
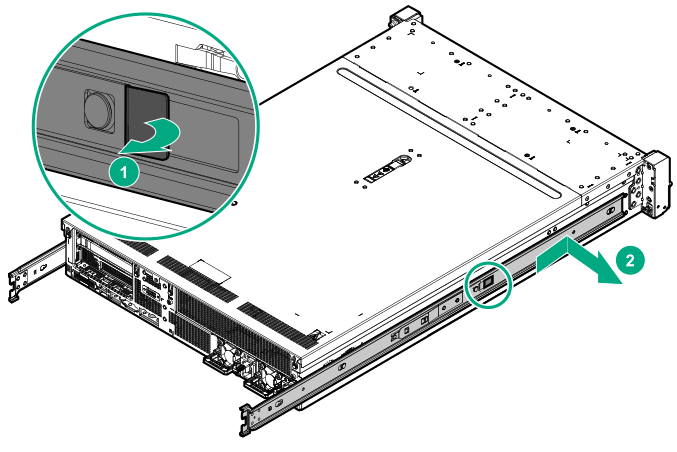
Remove the left inner rail.
-
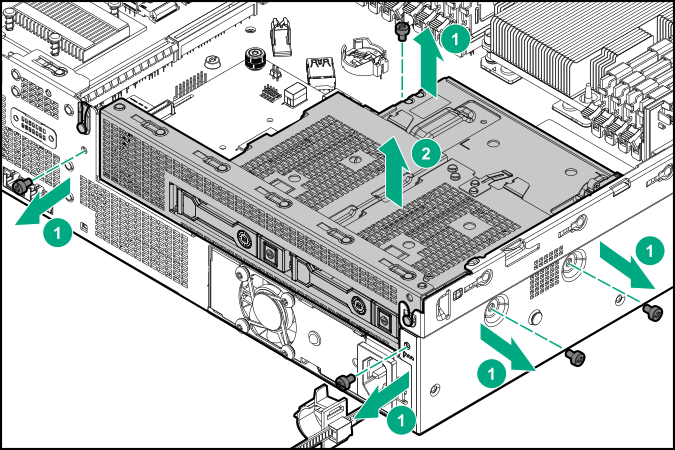
If installed, remove one of the following items:
Secondary riser cage blank

Rear 2-bay SFF drive cage
-
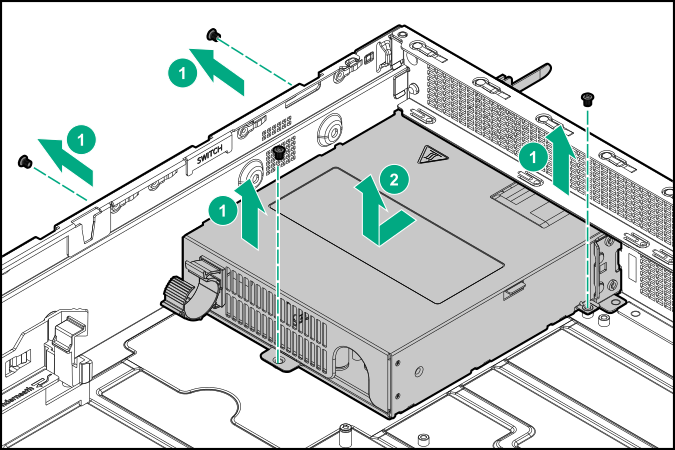
Remove the non-hot-plug power supply.
-
Install the power supply cage:
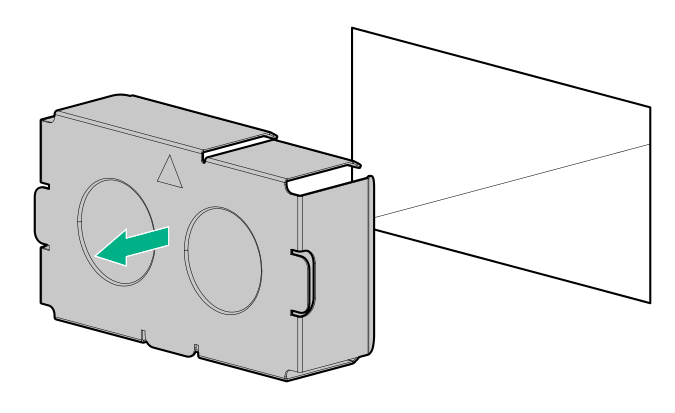
- Align the arrow on the power supply cage with the arrow on the chassis as shown in following illustration.
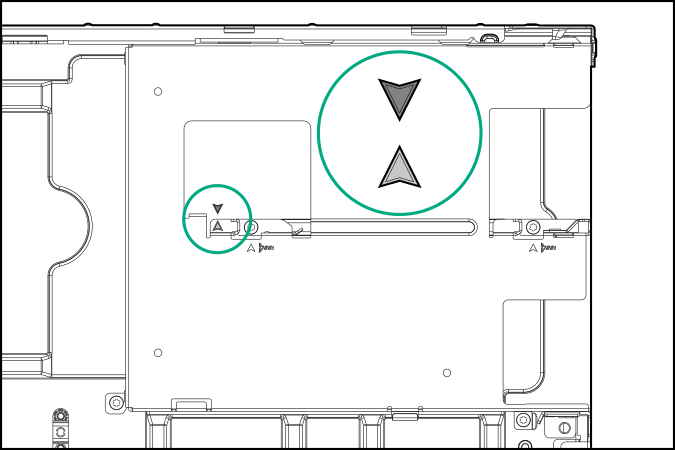
- Install the power supply cage.

- Align the arrow on the power supply cage with the arrow on the chassis as shown in following illustration.
-
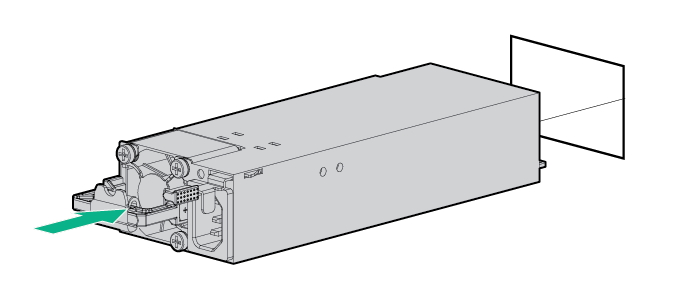
Install the power supply in bay 1.
-
If enabling redundant power supply mode, do the following:
- Remove the power supply bay 2 blank.
Install the power supply in bay 2.
The installation is complete.