Installing the rear 2-bay SFF drive cage

Prerequisites

Before you perform this procedure, make sure that you have a T-15 Torx screwdriver available.

Procedure
  1. Power down the server.
  2. Remove all power:
    1. Disconnect each power cord from the power source.
    2. Disconnect each power cord from the server.
  3. Disconnect all peripheral cables from the server.
  4. Remove the server from the rack.
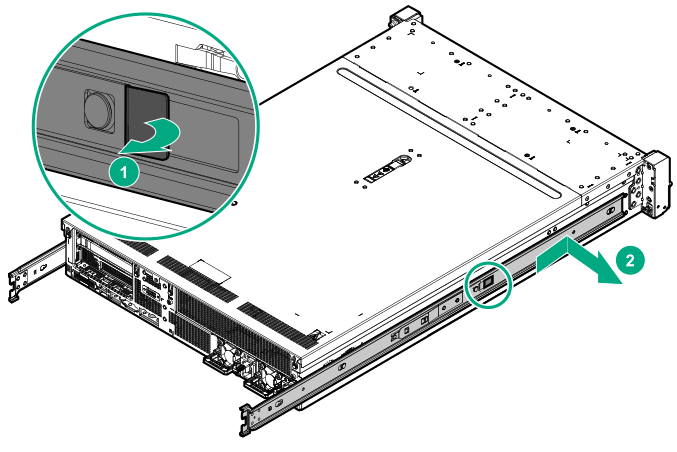
  5. To access side screws of rear 2-bay SFF drive cage, remove the left inner rail.

    Removing the inner rail
  6. Remove the access panel.
  7. Remove the air baffle.
  8. If installed, remove one of the following components:
    1. Secondary riser cage blank

      Removing the secondary riser cage blank
    2. Secondary riser cage
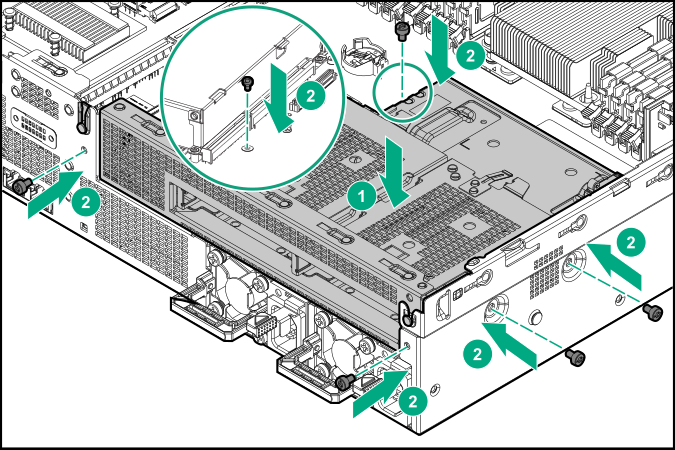
  9. Install the rear 2-bay SFF drive cage:
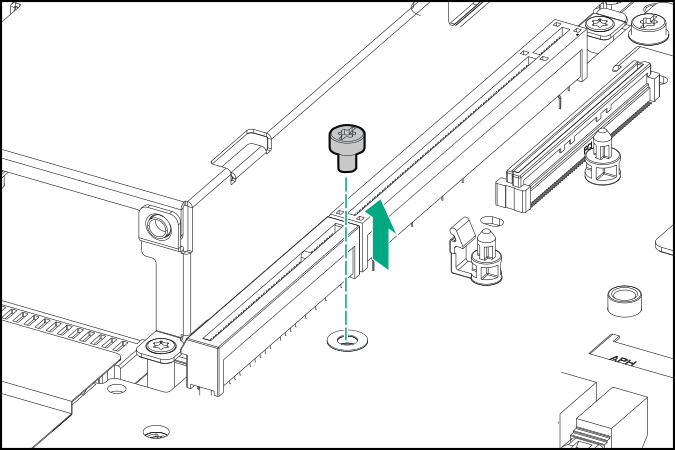
    1. Remove the screw from the system board.

      Removing the screw from the system board
    2. Install the rear 2-bay SFF drive cage, and then install the screws.

    Installing the drive cage
  10. Connect the Mini-SAS cable or the SATA and the SATA management port cables.
  11. Connect rear 2-bay SFF power cable.
  12. Install the drives.
  13. Install the air baffle.
  14. Install the access panel.
  15. Install the server into the rack.
  16. Connect all peripheral cables to the server.
  17. Connect each power cord to the server.
  18. Connect each power cord to the power source.
  19. Power up the server.

The installation is complete.