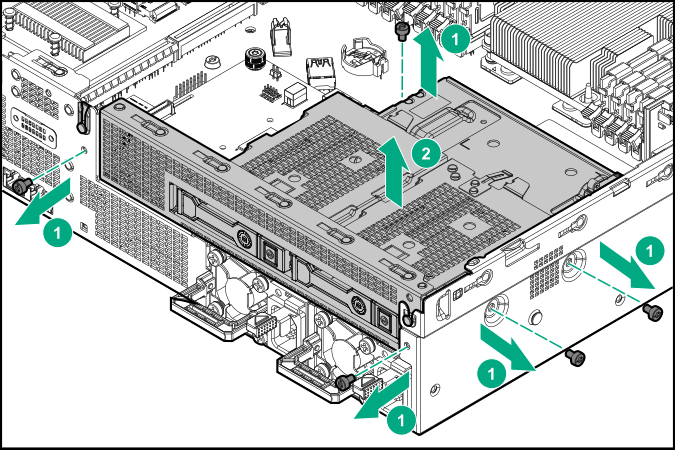
Installing a PCIe riser cage

Prerequisites

Before you perform this procedure, make sure that you have a T-15 Torx screwdriver available.

Procedure
  1. Power down the server.
  2. Remove all power:
    1. Disconnect each power cord from the power source.
    2. Disconnect each power cord from the server.
  3. Disconnect all peripheral cables from the server.
  4. Do one of the following:
  5. Remove the access panel.
  6. If installing secondary riser cage, remove one of the following:
    • Secondary riser cage blank

      Removing the secondary riser cage blank
    • Rear 2-bay SFF drive cage


      Removing the 2bay SFF drive cage
  7. If installing the expansion board, do it now.
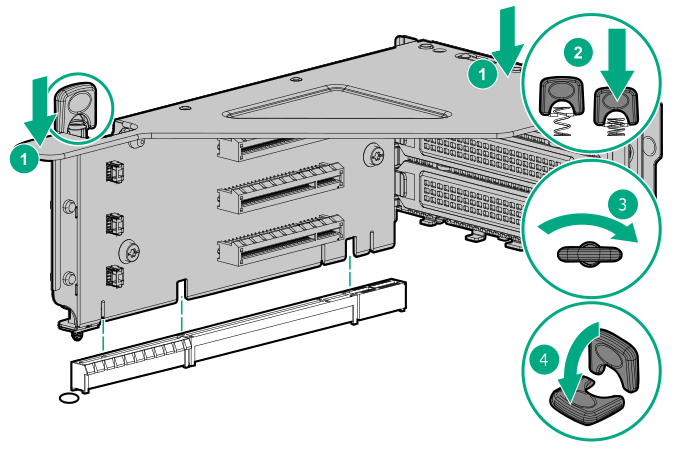
  8. Install the riser cage:
    1. Align the riser board with the corresponding connectors on the system board, and then press down the PCIe riser cage.
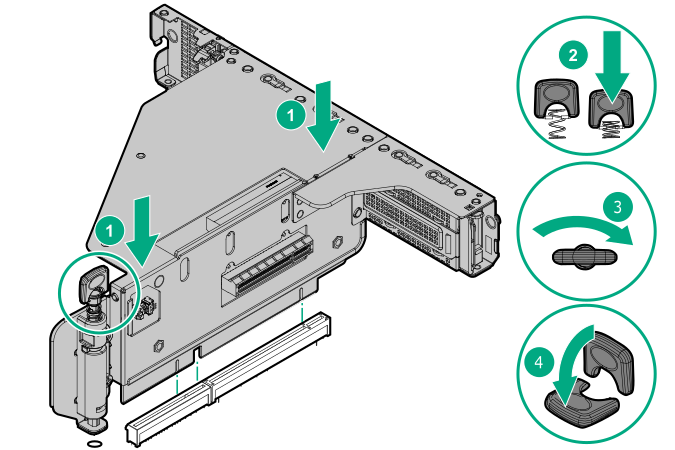
    2. Push down the release tab, rotate it 180° clockwise, and then press it flat on the PCIe riser cage.
      • Primary riser cage


        Installing the primary riser cage
      • Secondary riser cage


        Installing the secondary riser cage
  9. Install the access panel.
  10. Install the server into the rack.
  11. Connect all peripheral cables to the server.
  12. Connect each power cord to the server.
  13. Connect each power cord to the power source.
  14. Power up the server.

The installation is complete.