Installing an expansion board
Prerequisites
Before you perform this procedure, make sure that you have a T-10 Torx screwdriver available.
Procedure
- If installed, remove the front bezel.
- Power down the server.
-
Remove all power:
- Disconnect each power cord from the power source.
- Disconnect each power cord from the server.
- Disconnect all peripheral cables from the server.
- Do one of the following:
- Remove the access panel.
- Remove the riser cage.
- If required, remove the air baffle.
- Identify and then remove the slot blank from the riser cage.
- If installing expansion board on a low-profile slot on the secondary riser cage, replace the full-height bracket with the low-profile bracket. See the expansion board document for model-specific support bracket information.
-
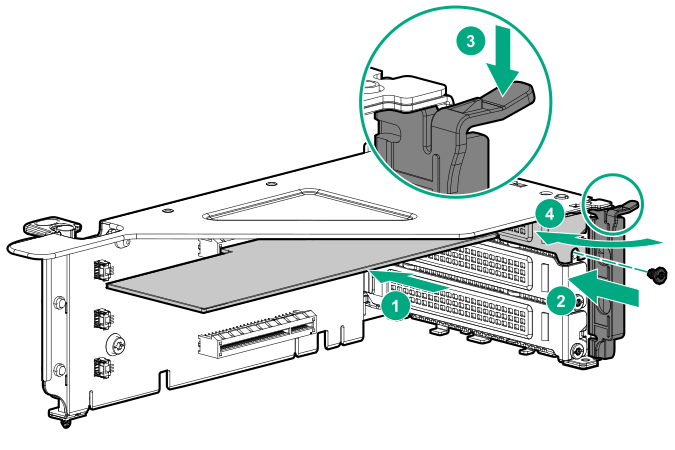
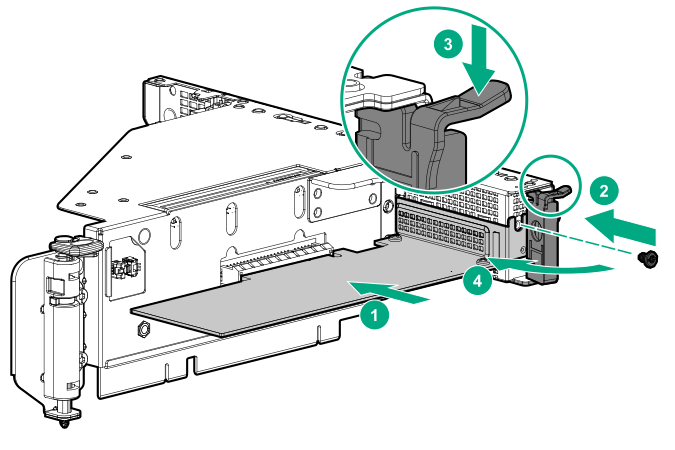
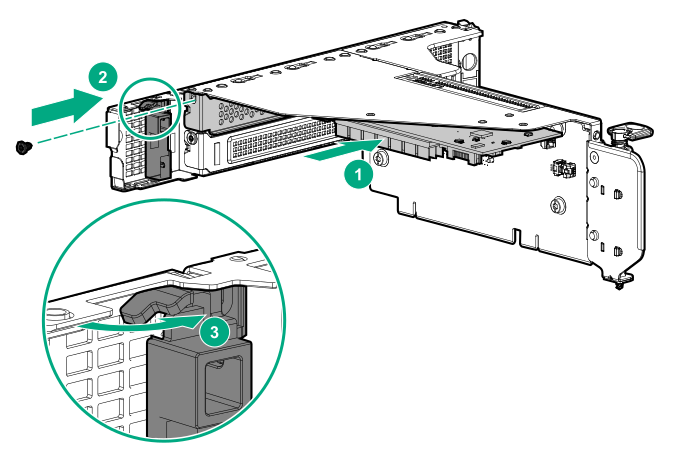
Install the expansion board.
Primary riser cage
Secondary riser cage
Slot 4
Slot 5 or 6
- If internal cables are required for the expansion board, connect the cables.
- If removed, install the air baffle.
- Install the riser cage.
- Connect all cables to system board/backplane.
- Install the access panel.
- Install the server into the rack.
- Connect all peripheral cables to the server.
- Connect each power cord to the server.
- Connect each power cord to the power source.
- Power up the server.
The installation is complete.