Installing the 8 to 12 upgrade option in the LFF chassis

The 8 LFF chassis can be upgraded to 12 LFF chassis with this option installed.

Prerequisites

Before you perform this procedure, make sure that you have the following items available:

  • T-10 Torx screwdriver

  • Flat-headed screwdriver

Procedure
  1. If installed, remove the front bezel.
  2. Power down the server.
  3. Remove all power:
    1. Disconnect each power cord from the power source.
    2. Disconnect each power cord from the server.
  4. Disconnect all peripheral cables from the server.
  5. Do one of the following:
  6. Remove the access panel.
  7. Remove the air baffle.
  8. Disconnect the iLO service port cable from the system board.
  9. If installed, disconnect the ODD cable.
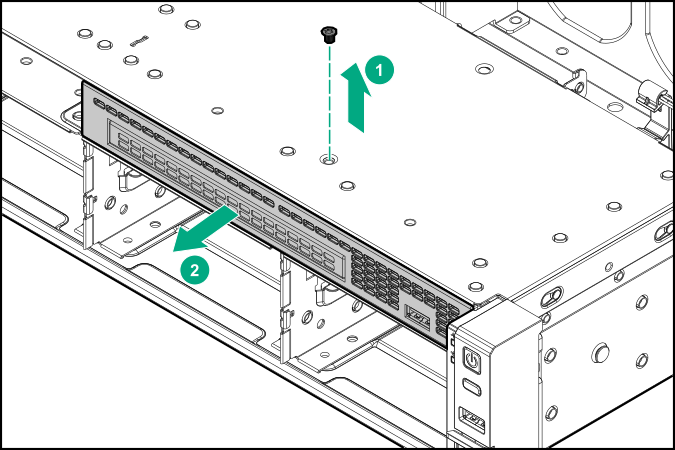
  10. Remove the LFF optical drive cage.

    Removing the ODD
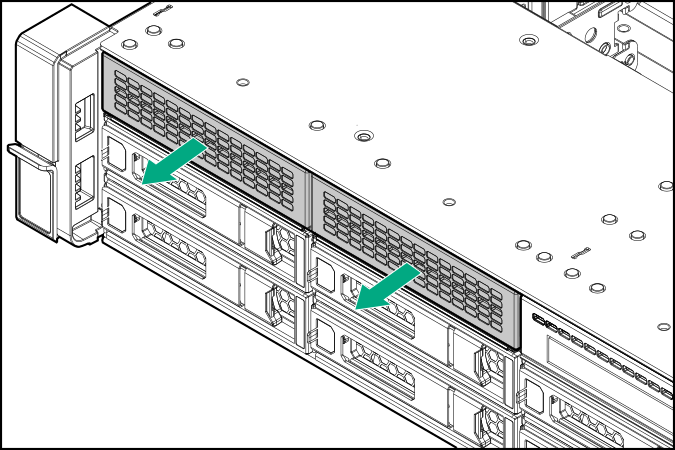
  11. Use a flat-headed screwdriver to pry the fillers from box 1.

    remove box 1 fillers
    Retain the fillers for future use.
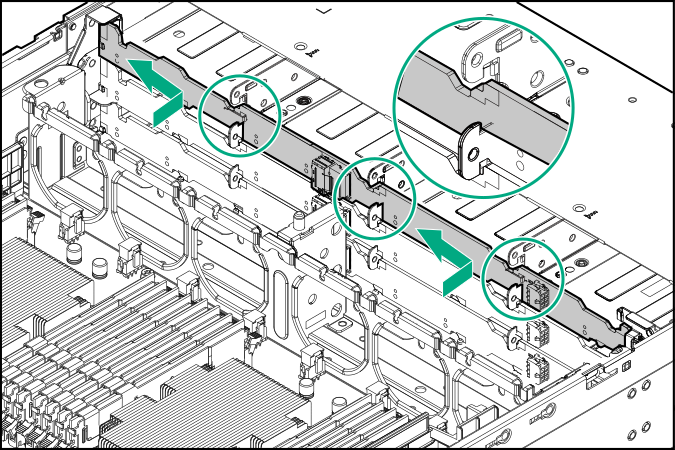
  12. Install the partition.
    1. Lift the top cover upward slightly.
    2. Insert the partition.
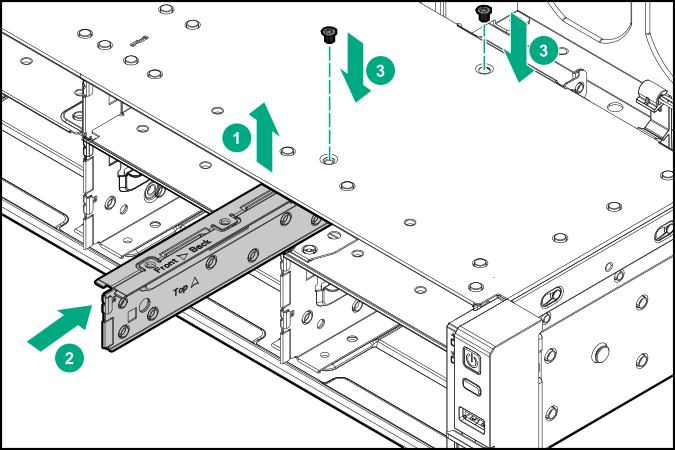
    3. Secure the partition with two screws.
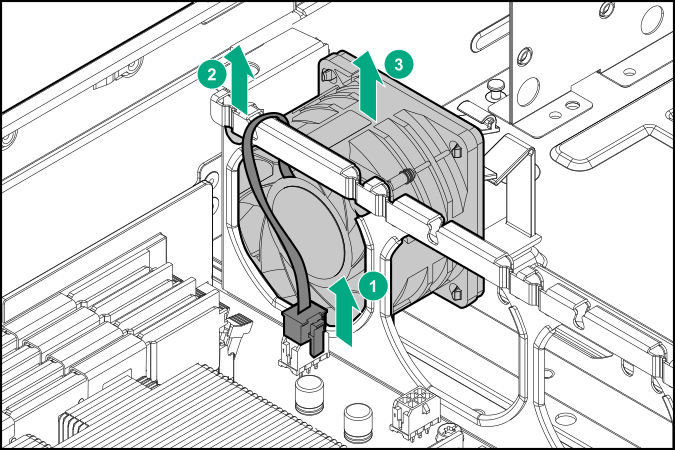
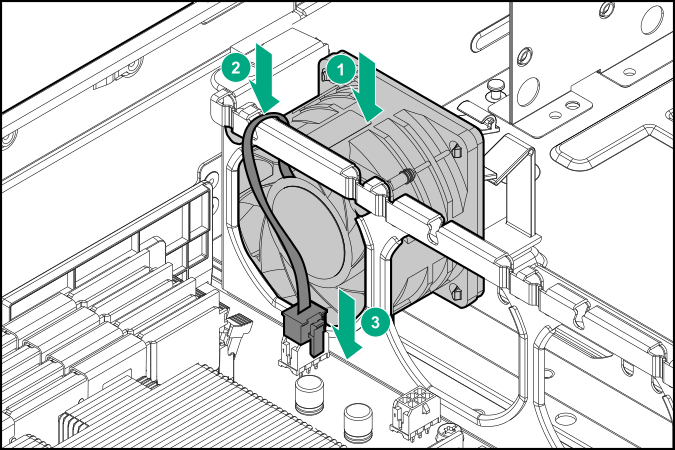
      Installing the partition
  13. Remove all fans.

    Removing the fan
  14. Install the drive backplane.

    Install drive backplane
  15. Connect the Mini-SAS cable.
  16. Disconnect the existing power cable.
  17. Connect the power cable.
  18. Install the drive in box 1.
  19. Install all fans.

    Installing the fan
  20. Install the air baffle.
  21. Install the access panel.
  22. Install the server into the rack.
  23. Connect all peripheral cables to the server.
  24. Connect each power cord to the server.
  25. Connect each power cord to the power source.
  26. Power up the server.
  27. If removed, install the front bezel.

The installation is complete.