Installing a DC power supply
WARNING: To reduce the risk of electric shock, be sure that the cable grounding kit is properly installed and connected to a suitable protective earth terminal before connecting the power source to the
frame.
Two lugs ship in the kit with the -48V DC power supply. The two-hole lug specification is as follows:
Width – 0.41 in (10.41 mm)
Bolt hole size – 0.20 in (5.08 mm)
Hole spacing – 0.63 in (16.00 mm)
Prerequisites
Be sure the -48V DC power cables are installed. For more information, see the HPE Synergy 12000 Frame -48V DC Power Cable Installation Instructions.
Be sure that a ground connection to the HPE Synergy 12000 Frame has been properly installed. See Installing the DC power grounding kit or the document that ships with the kit.
- Gather the following tools:
Torx T-25 screwdriver
Crimper
Procedure
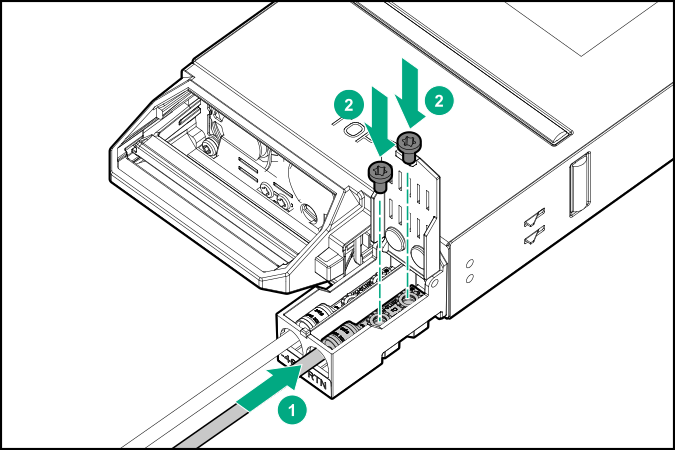
-
Secure the two-hole lug to the -48V DC input connector terminal with two screws.
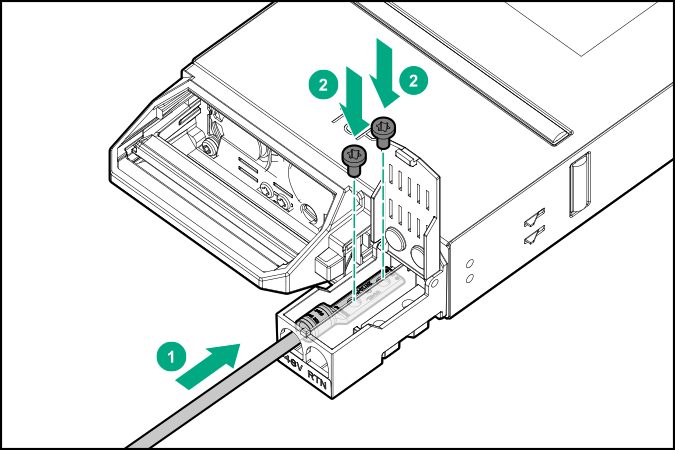
-
Secure the two-hole lug to the RTN input connector terminal with two screws.
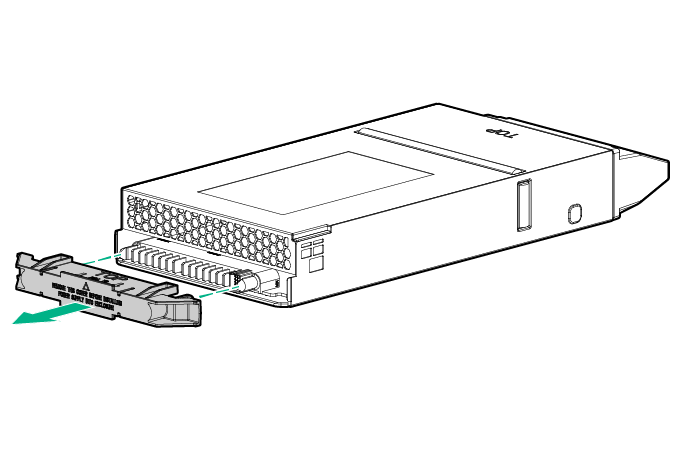
-
Remove the output connector cover from the new power supply.
-
Insert the power supply into the frame until it locks into place. The power supply is marked with TOP to ensure proper orientation during installation.
