Installing the rack rails for a square-hole rack
Rack rails are marked "LEFT" and "RIGHT" for identification. The rail release levers are used only when removing the rail from the rack.
Procedure
-
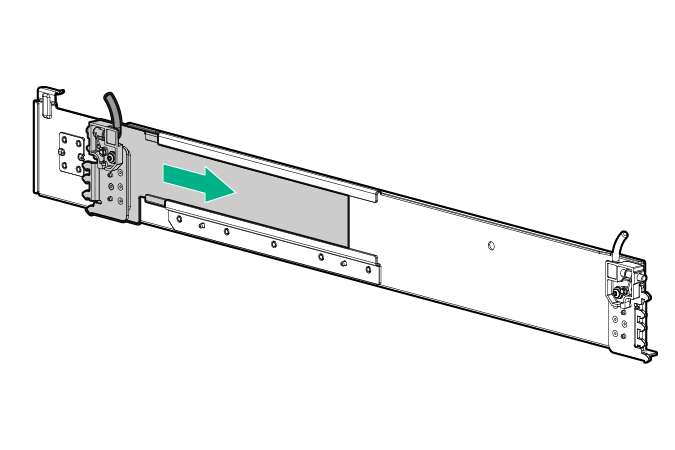
Begin with the left rack rail. Shorten the rail.
-
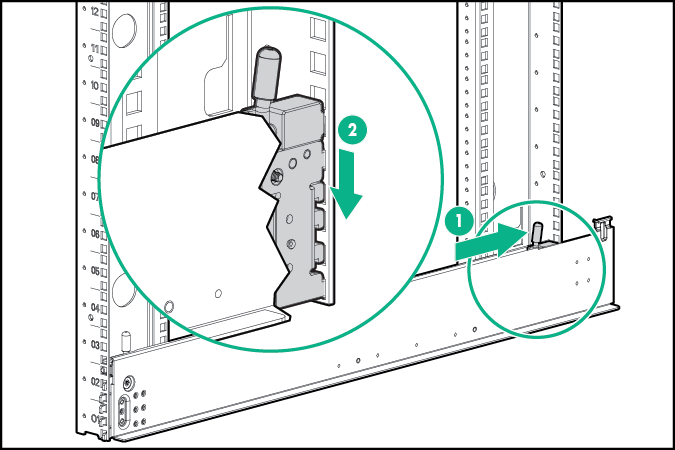
Keeping the rail level, insert the rear rail tabs into the rack rear column, and push the tabs down into place.
-
Insert the front rail tabs into the rack front column and push the tabs down into place.
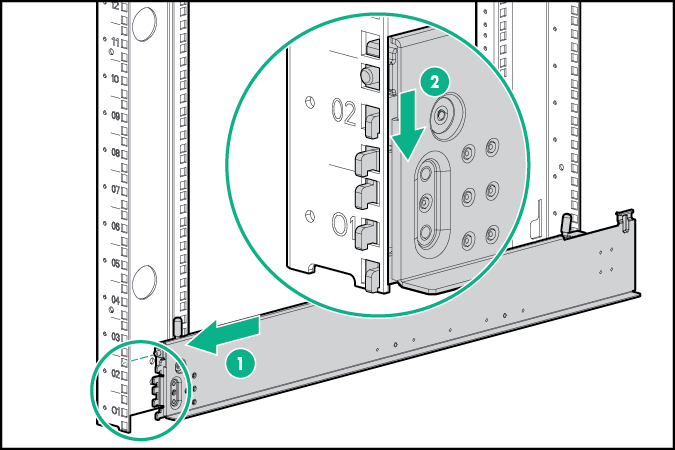
The installation is complete.