Installing an accelerator or GPU
Prerequisites
Before you perform this procedure, make sure that you have the following items available:
The components included with the hardware option kit
T-30 Torx screwdriver
T-10 Torx screwdriver
- High-performance heatsinks must be installed with this option.
Procedure
-
For full-length cards that require support, install retention clips:
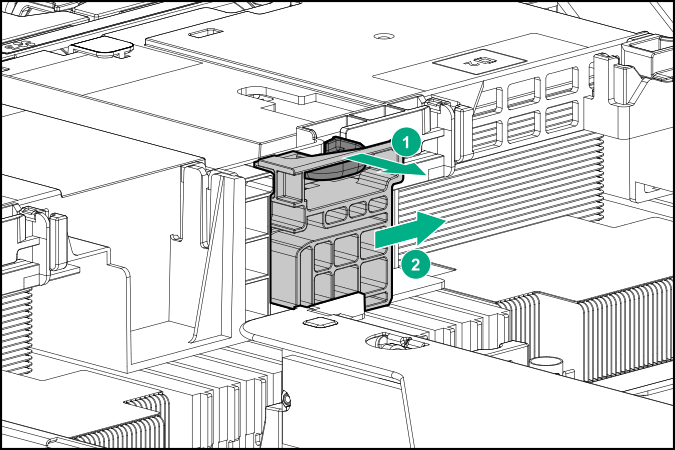
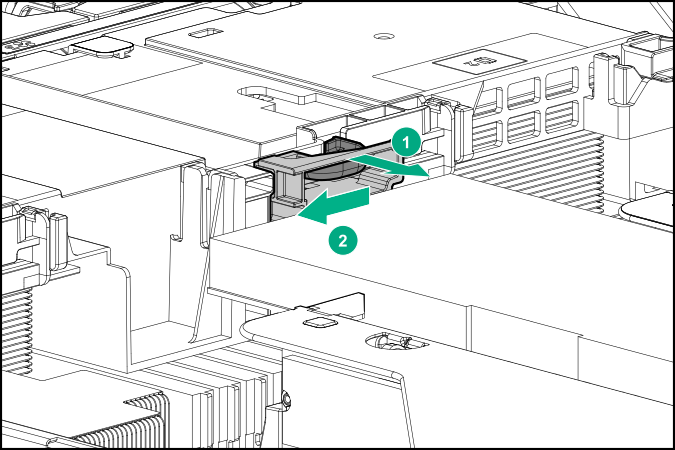
- Remove the air diverters from the air baffle.
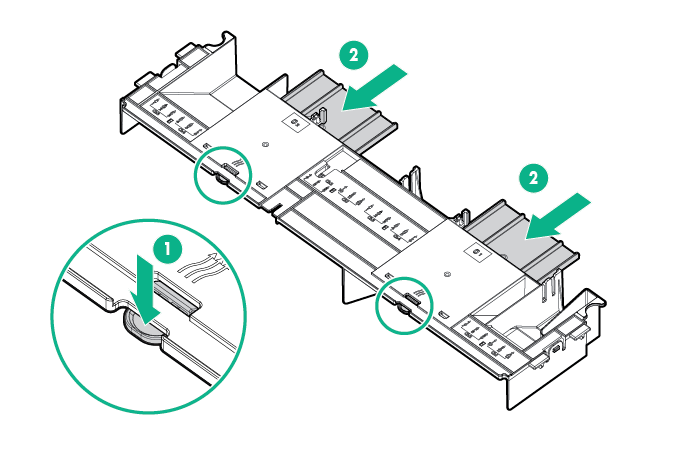
- Install the appropriate retention clip onto the air baffle.
Install the clip that supports your configuration. Primary, secondary, and tertiary positions are shown.
- Remove the air diverters from the air baffle.
-
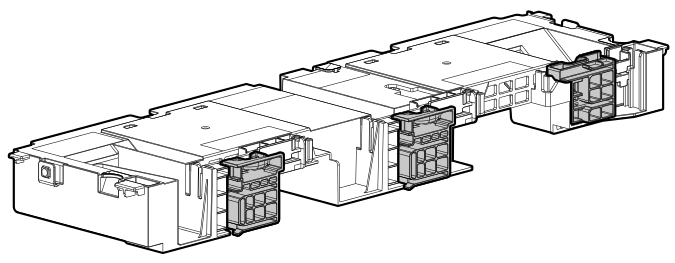
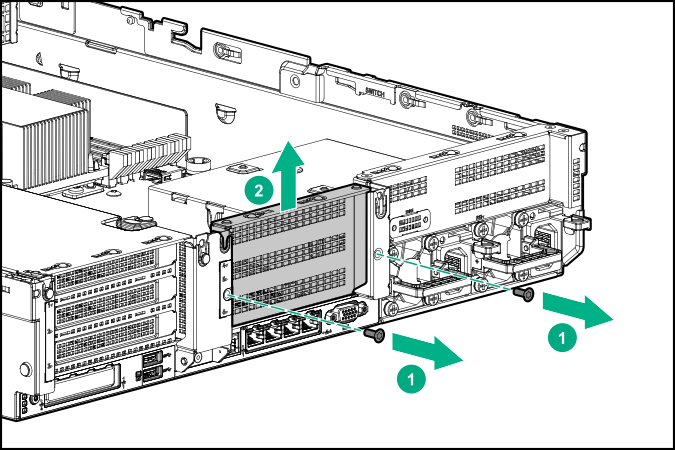
Remove the rear wall blank.
The secondary rear wall blank is shown.
 To install a card in the primary riser cage, see "Removing a riser cage".To install a card in the tertiary riser cage, see "Installing a tertiary riser cage".
 -
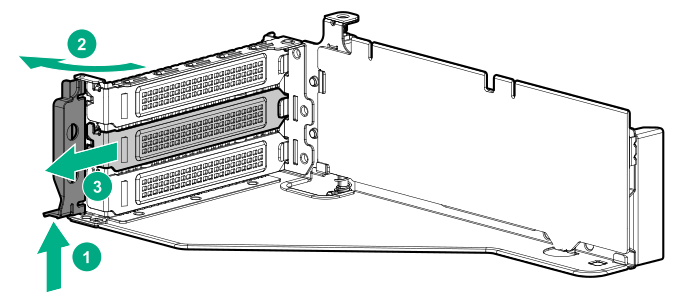
Remove the PCIe blank.
-
Install the card into the riser.
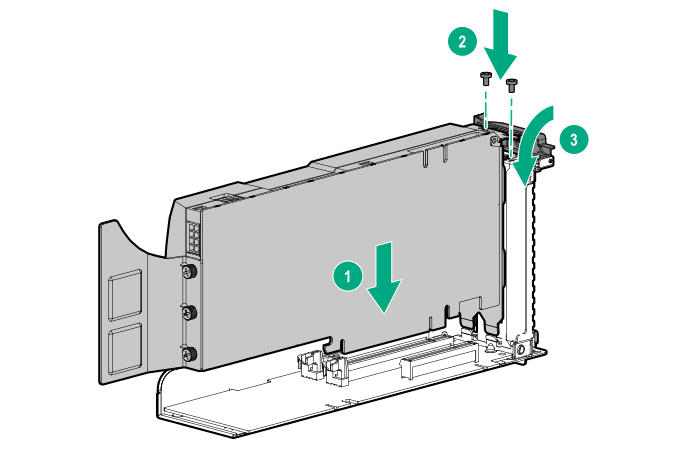
-
For full-length cards, open the retention clips.
-
Install the riser cage.
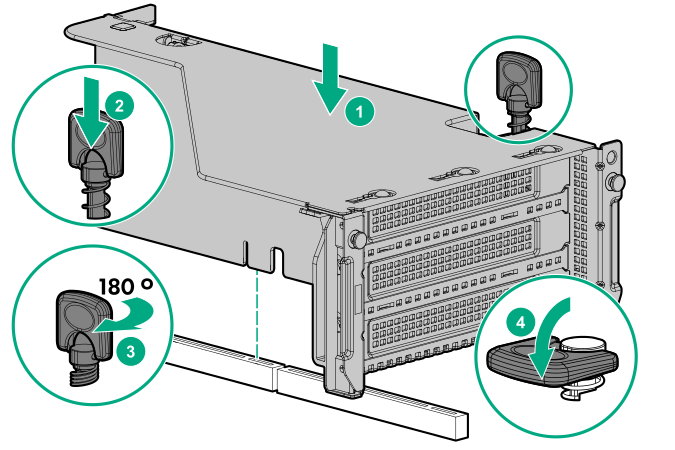
-
For full-length cards, slide the retention clips to the locked position.
The installation is complete.