Create a Device Model
Estimated reading time: 3 minutes
Use these descriptions and procedures to add a model to a project:
What is a Model in Workload Orchestrator?
Before you can add a Device to a Project in Workload Orchestrator, you must add at least one Device Model to a Workload Orchestrator Project.
You must add a device model to initiate a communication channel for PLC devices to connect to Workload Orchestrator with specific protocol parameter settings. Standard protocols include: HTTP, HTTPS, MQTT, MQTTS, LWM2M, LWM2M with DTLS. In addition, custom data blocks can be configured. Additional protocol descriptions can be found in:
When you configure a model, choose from a predefined set. A JSON file with configuration parameters can be downloaded and this file can be used to set up your device. You can also supply parameters, if your device requires additional key-value pairs.
You cannot delete if a device is currently using it. You must delete the device first to proceed with removing the model.
Model Types
Workload Orchestrator currently supports the following model types:
**OT Link Platform:** This model supports OT Link Platform devices to connect to Workload Orchestrator. It is similar to the embedded model, but with additional OT Link Platform integration features, such as remote access and cloud activation.
EMBEDDED: An embedded system is a special-purpose system in which the computer is completely encapsulated by the device it controls, for example, a Raspberry Pi or an Arduino board. This model can be used for any such device or even a script that can use protocols supported by Workload Orchestrator to send data and receive management commands.
POLL: Use this model for continuously polling a device. Some legacy systems allow collection of data from their devices using an HTTP interface (SOAP or REST). Workload Orchestrator’s poll model provides a way to integrate legacy systems or devices that are not able to send data; the poll model enables Workload Orchestrator to pull data from those legacy devices. Another use case is web services. For example, Nest provides a web service that allows retrieval of data from their thermostats. In this case, there is no direct connection to a real device, but Workload Orchestrator can collect data from the Nest sensors. Other examples include electric vehicle charging stations or even smart cars.
WEBHOOK: A webhook, often referred to as an HTTP callback, enables Workload Orchestrator to push data to web applications. See Webhook Model. Once a device is deployed from a model, the webhook will be available at an address with the following format: }
Create a Model for a Project
You can choose between several options when creating Workload Orchestrator device models. The following steps cover a basic configuration.
To create a model:
- Click the company name at the top of the Workload Orchestrator window.
- Click a Project.
- In the navigation panel, select Configuration > Models.
- Select the OT Link Platform tab.
- Click New Model.
- In the Device Model Editor, select the CONFIG tab.
- Enter a Model Name.
- Click a checkbox from the Predefined Sets list to select a Model and view its JSON code.
- Click Save.
Example
This example shows the JSON code for the MQTT TLS/SSL connection parameters selection.
{
  "mqttHostName": "%MQTT_HOST%",
  "mqttSslPort": "%MQTT_SSL_PORT%",
  "mqttServerCA": "%MQTT_CA_CERT%",
  "mqttUserName": "%MQTT_USERNAME%",
  "mqttPassword": "%MQTT_PASSWORD%",
  "mqttClientId": "%MQTT_CLIENT_ID%",
  "mqttReqTopicName": "%MQTT_REQ_TOPIC%",
  "mqttRespTopicName": "%MQTT_RESP_TOPIC%",
  "mqttDataTopicName": "%MQTT_DATA_TOPIC%"
}
Change the Model Image
You can upload a specific graphics file, such as a vendor image, and attach it to a Workload Orchestrator model. Workload Orchestrator supports standard image formats, such as jpg and gif.

Generic Model Image
To change a model’s image:
- Click the Company name at the top of the Workload Orchestrator window.
- Click a Project.
- Select Configuration > Models.
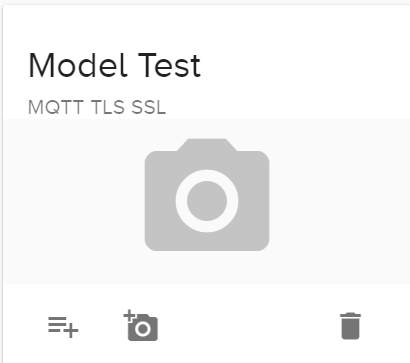
- Find the model to be updated. Click the small camera icon at the bottom of the model card.
- Click Select Image and then select a saved image.
- Click Upload.